Extra: Fixing an Invalid Document
Here, we will recapitulate the lessons of the first chapter on Word. In this task, we are editing a document that has undergone numerous edits that have cluttered the document. Your job is to correct edits in the document.
You can try to do the task yourself first and, if necessary, check the instructions if a point does not fit correctly.
Download the template file
Formatting_mistakes.docxThere are several problems with the document. Can you find them all?
- The headings are manually formatted
- The first heading contains a bullet point
- Sometimes a line break is used instead of a paragraph break in the document. This has also led to “manual” formatting of the text
- Paragraph breaks have been formatted by inserting multiple line breaks and/or paragraph breaks
- The margin heading of the hanging indentation is separated by using multiple spaces
- There are manually formatted passages in the text
- The table is arranged in such a way that the text lines up around it, which causes any new text after the Highlight heading to be positioned peculiarly on the side of the table.
Video: Formatting Symbols
Info: Formatting symbols, what are they?
Formatting symbols (also known as non-printing characters or paragraph marks) are visual indicators that represent the formatting applied to the text in a document. These symbols do not appear when the document is printed but become visible when you enable them. At first, these characters may seem confusing—spaces, for example, appear as dots between words. However, you’ll get used to them quickly!
Task: Make the formatting characters visible
Let's start by making the formatting symbols visible. Many of the problems with a document are revealed when we see the formatting symbols. We covered this before, but here we are still learning about formatting symbols again.
Problem: Line breaks (↵) and paragraph breaks (¶)
The document uses line breaks (↵) instead of paragraph breaks (¶). A typical situation where this happens is when a text is pasted. If you have not selected Keep Text Only as the pasting method, Wordw ill insert line breaks (↵) instead of paragraph breaks (¶).
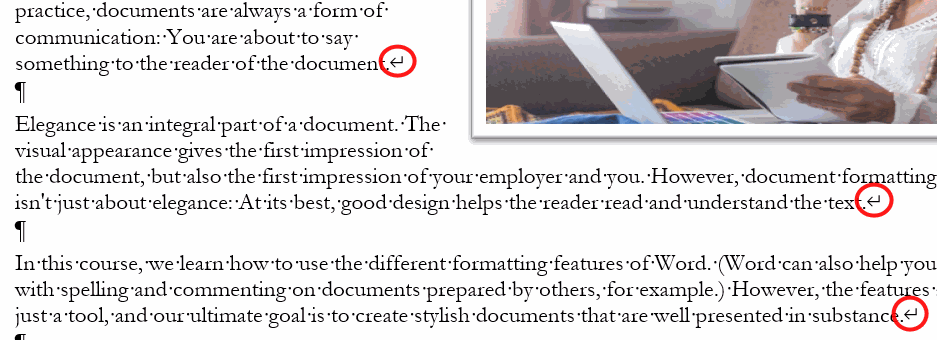
There are several line breaks in the body text of the document.
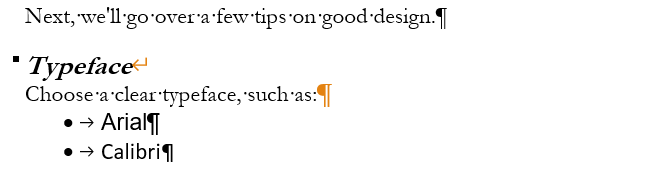
Note also the line break in the Typeface heading. This is particularly problematic because now, from the Word point of view, the text that continues below the heading is part of the heading. You will notice that Word starts to behave strangely if you for example try to set a heading style for the Typeface heading.
Task: Correct the line breaks to paragraph breaks
Remove all line breaks from the document and replace them with paragraph breaks.
We then see that we also need to correct the incorrect formatting created in the text as a result of line breaks.
Model:
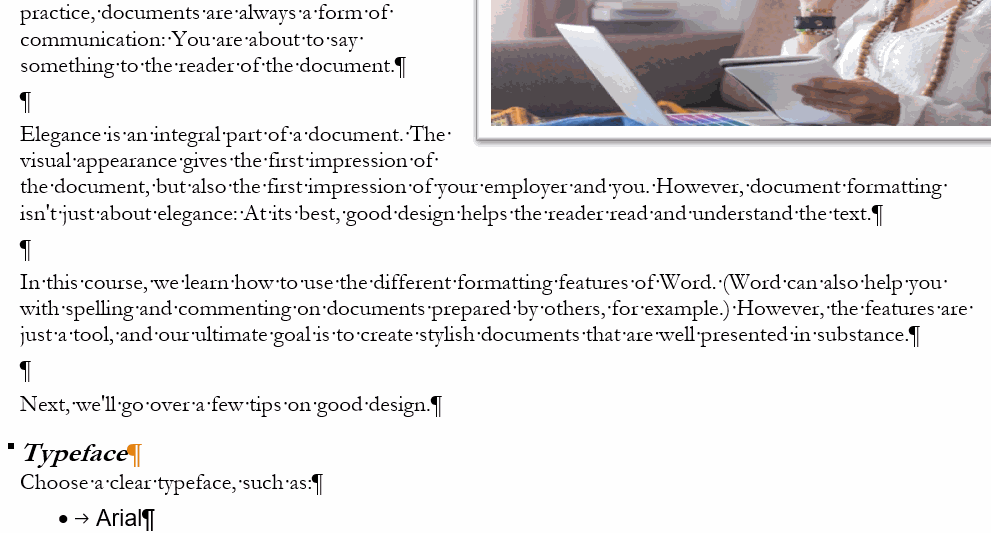
Problem: Using two paragraph breaks (¶) to widen the gap between paragraphs
A very common problem in Word documents is the use of two or more paragraph breaks to adjust the paragraph spacing. For many very advanced users of Word, this type of formatting has become a bad habit.
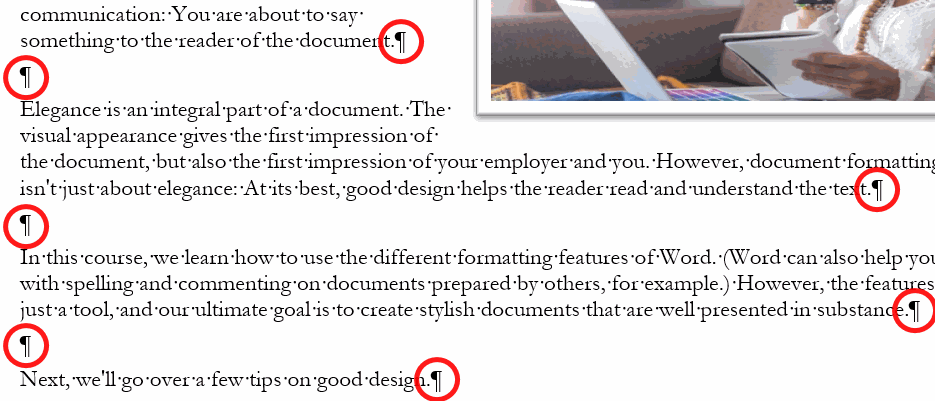
Using paragraph breaks in this way is problematic for several reasons:
- The paragraph spacing is usually unnecessarily wide. Adjusting the paragraph width to suit the eye is practically impossible in this way.
- You have to keep adding paragraph breaks to the document. Once you start down this road, you find yourself constantly making up for missing paragraph breaks.
Task: Remove extra paragraph breaks (¶) and adjust the paragraph spacing
Delete the extra paragraph breaks (¶) for each place where they occur in a row.
We can then adjust the paragraph breaks to our liking. We can use the Design tab tool for this or set it directly in the Normal style.
Model:
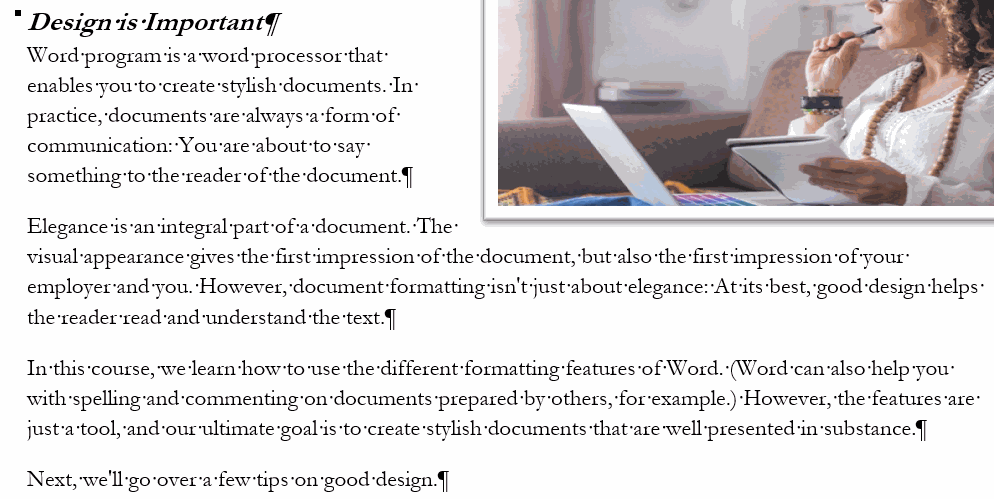
Problem: Manually formatted headings
In the document, heading styles have been used, but the text color has been changed through font formatting. The first heading also contains a bullet point.
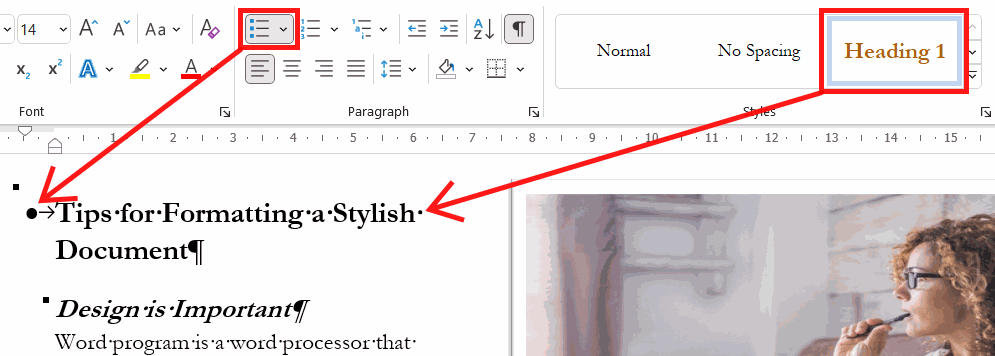
When the headings are formatted correctly, the document title and the texts in the corresponding style button will have the same look and feel.
The idea of predefined styles is that they do not need to be formatted in the text, but the desired formatting is done in the style, so that the formatting is updated everywhere in the document where the style is used.
In a situation where the look of the style is not to your liking, it is worth updating the style itself. For instructions on how to do this, see Task: Finish the fonts and colors used in the document on the page Formatting Headings and Document.
Task: Fix heading styles
Correct the layout of headings to be in line with the heading styles.
Problem: The picture is stretched
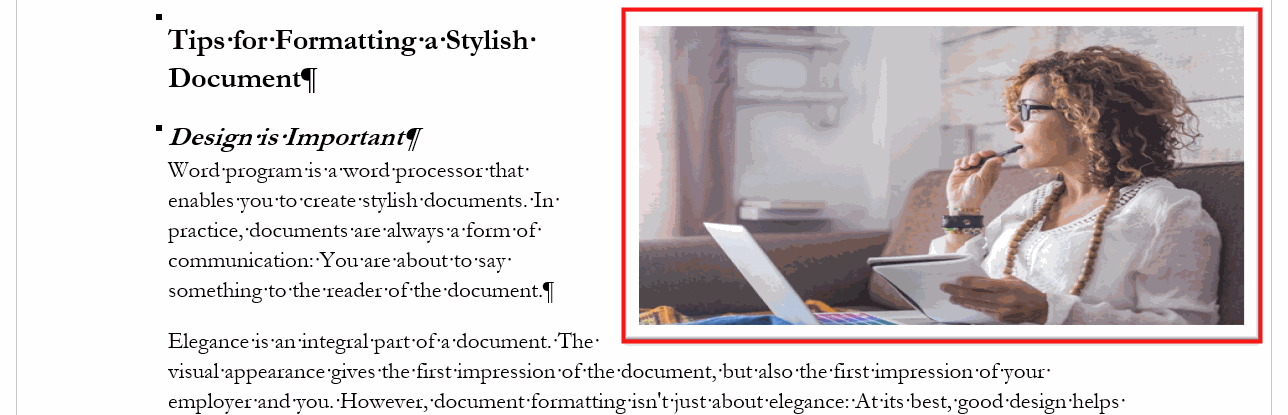
The proportions of the image are distorted. This has happened when resizing the image.
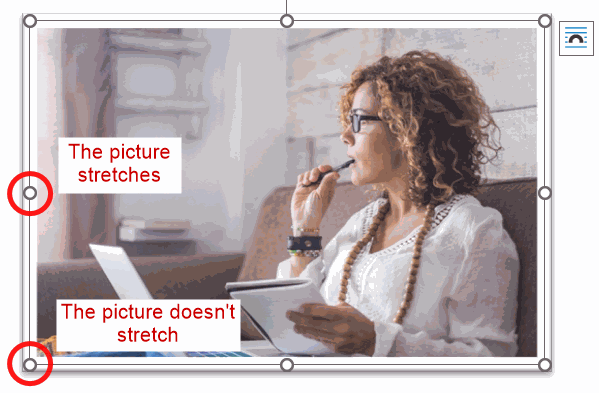
If you resize the image from the edge point, the image will be distorted. So the image should always be changed from the corner point if you want the aspect ratio of the image to be preserved.
Problem: The image is placed right at the edge of the page
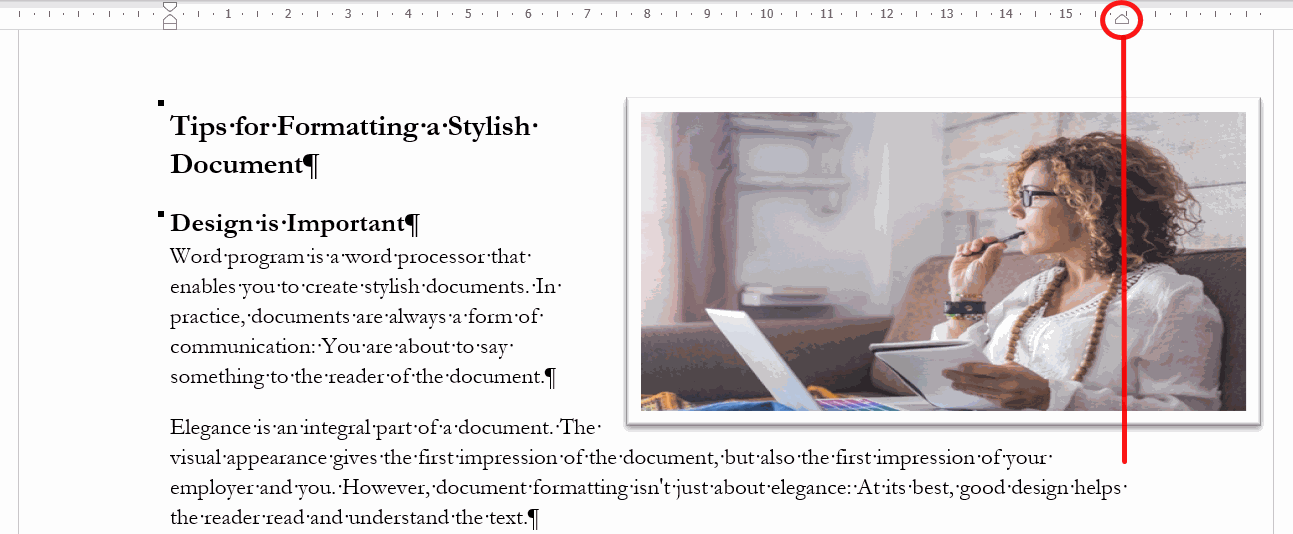
The image is placed too close to the edge of the document. When placing images, it is important to respect the margins of the document. First, the margins create a balanced document.
Secondly, there is also a very practical problem: Standard printers are not able to print right to the edge of the document. If an image (or other content) is placed right at the edge of the document, it will not print completely.
Task: Correct image proportions and layout
Restore the proportions of the image to normal. You can then resize the image to the size you want and move it so that it doesn't exceed the margin.
Problem: The hanging indentation is indented with spaces
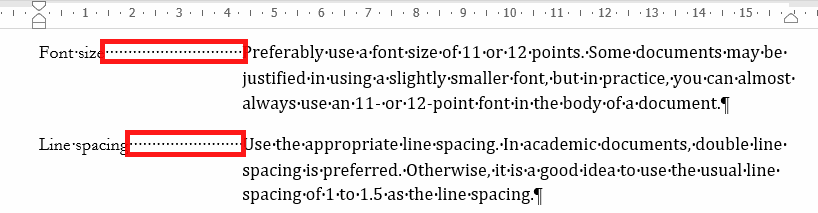
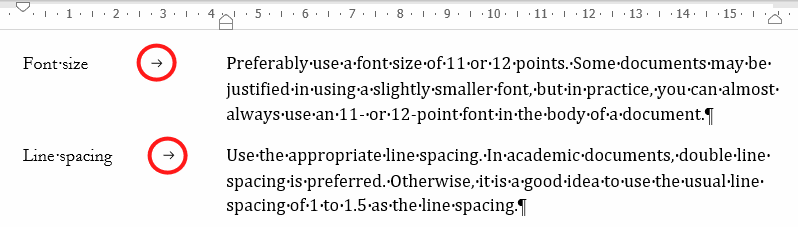
These two paragraphs have been indented with a hanging indentation, but after the margin heading, the body text has been moved to the right place with spaces.
Problem: The body text of the hanging indentation is manually formatted
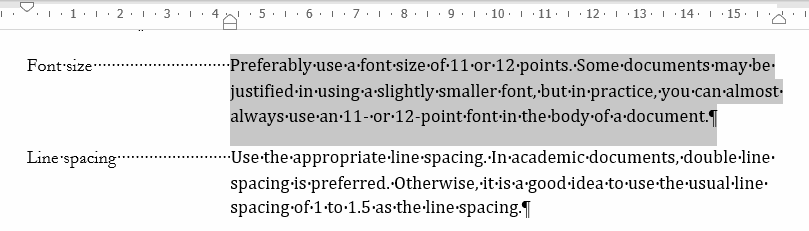
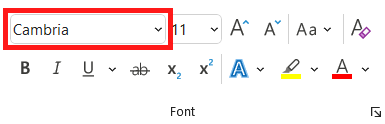 | The body text has been formatted with font formatting. To find out this, select the text and check the selection in the **Font** setting in the **Font** group on the **Home** tab. |
Task: Fix a hanging indentation
Fixing a hanging indentation by replacing the spaces with the Tab character.
Then we remove the font styling. In the case of hanging indentation, this is a bit trickier, because we want to remove only the font styles. If we remove all formatting, the hanging indentation itself will also be removed.
Model:
Did you fix all the points?