Image Layout and Editing
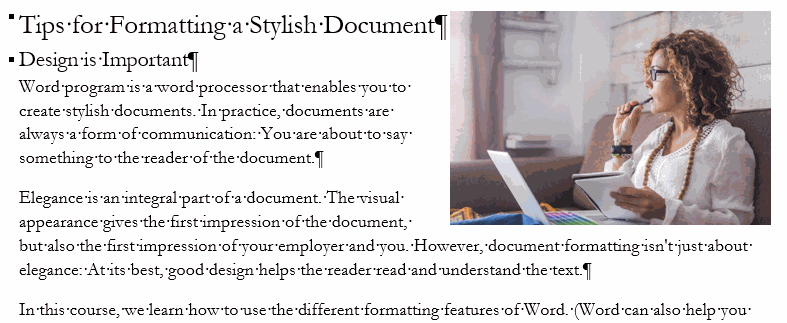
The picture we just added looks a bit clumsy in terms of layout and size. Usually, images require layout to ensure that they are neatly part of the document.
One of the key issues is how the text in the document wraps around the image. We want the text to line up around the image.
Finally, Word offers you the possibility to customise the layout of the image.
Next, let's look at how you can layout an image.
Video
Objective
The image in the document has been edited to line up with the text, aligned with the top of the heading and margin, reduced in size and framed. For example, your document might look like this:
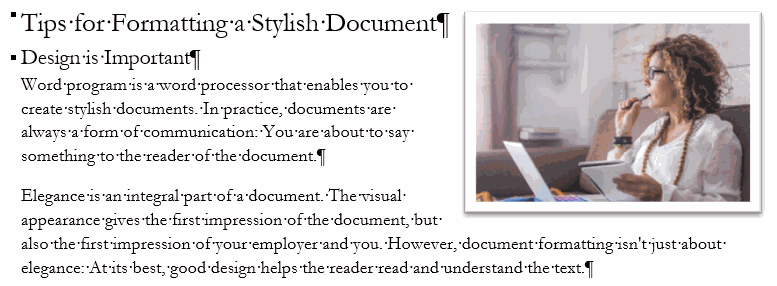
Task: Set the text to line up around the image
Set the text to line up around the image. Also remove the now redundant line break that we had earlier used to make room for the image. For example, your document might now look like this:
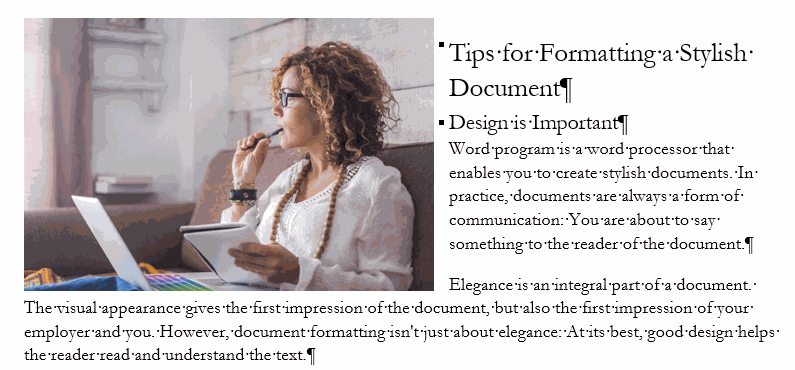
Accessibility and image layout
Task: Align the image to the top of the document and right margin
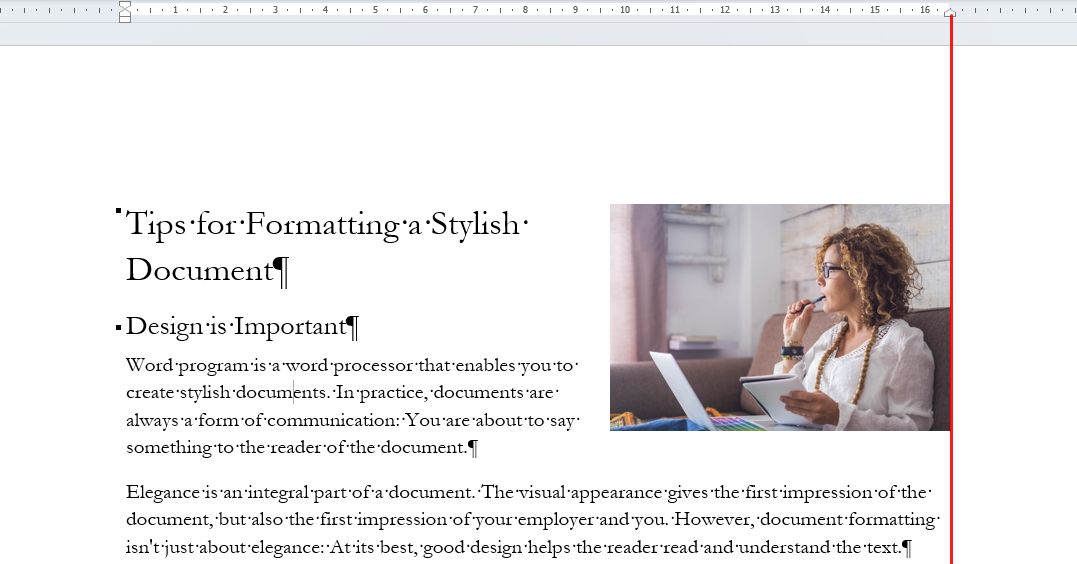
Move the image to the right edge of the document. The image should be aligned with the margin (which is the part where the text flow stops).
Make sure the image is aligned with the heading and the right edge of the document. A example of an image layout with the margin highlighted by a red line:
Question: How do I get the green lines to appear?
You may find that the green lines are missing. You may have removed the choice related to it.
Task: Resize the image
Next, let's resize the image. Reduce it so that the picture is cleary smaller. Model: