Horizontal Page and Document Sections
Occasionally, you need one page of a document that is horizontal. It could be a large image, a graph or a data table, for example. Or maybe some part of your document needs to be in two columns. A third example is a situation where you do not want some pages to display a header or footer. Perhaps it's a page that is meant to be printed separately, or an attachment, for example.
You may also have come across a document with a horizontal table on a normal vertical page that fills only half the page, but the whole page is reserved for the table. This really catches the eye.
Next, let's learn how to flip individual pages to another orientation. For this, we will use the Word function to split the document into sections, i.e. add section breaks. By splitting the document into sections, you can arrange each section as you need it.
Video
The Objective
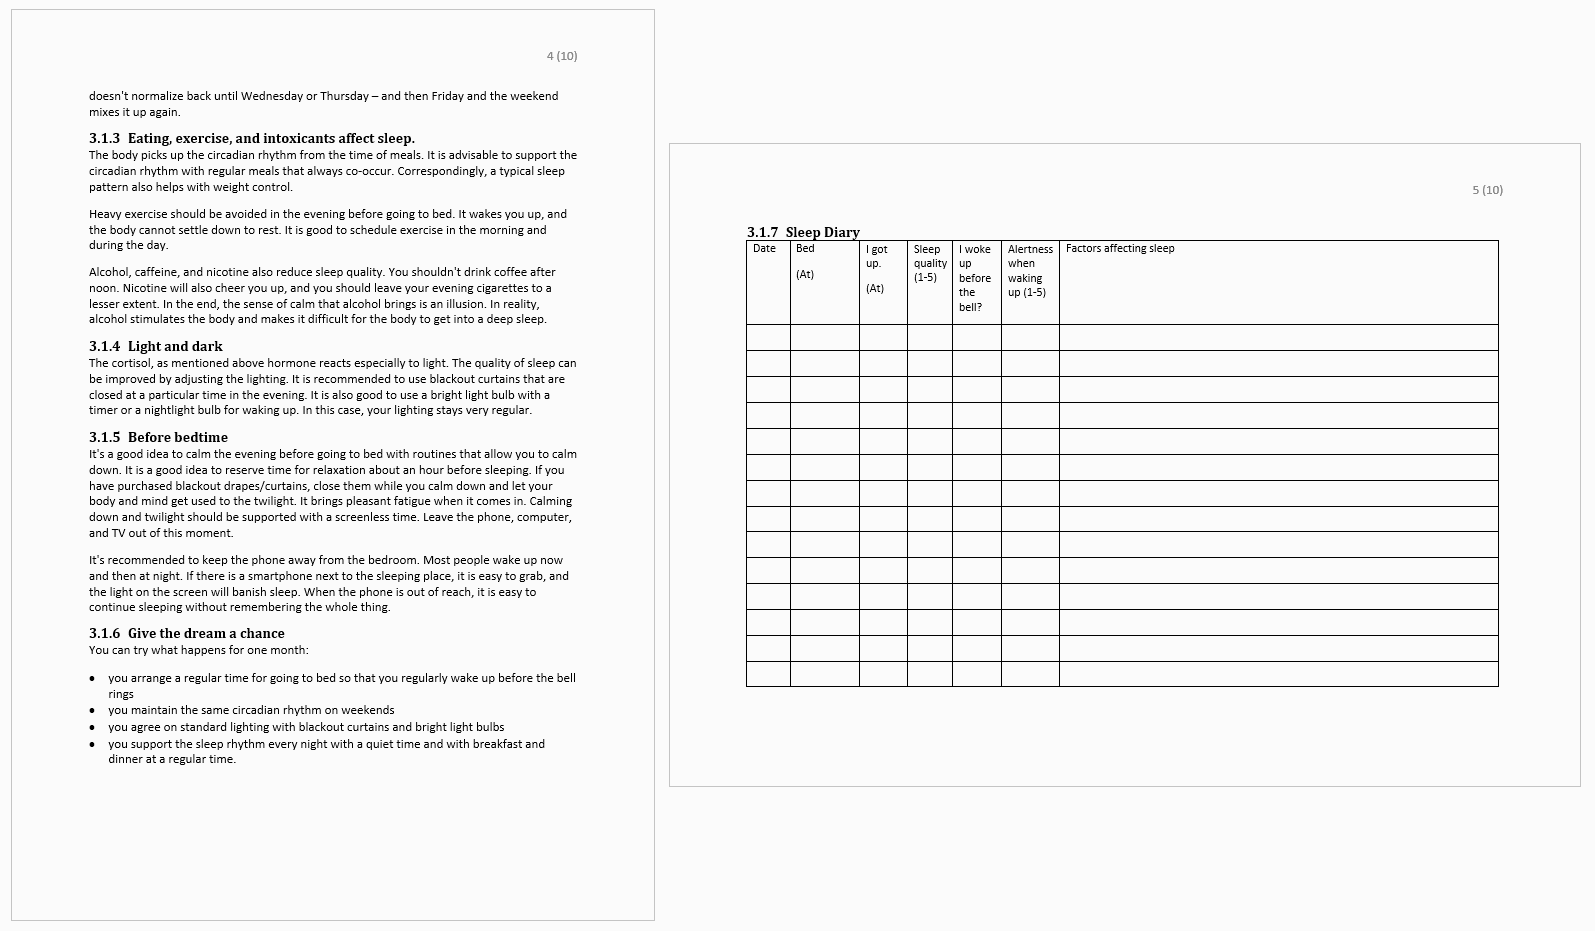
We will format the sleep diary in the document on its own horizontal page. The addition of the section breaks causes difficulties to the page numbering, so after setting the horizontal page layout, the page numbering in the document has been corrected:
Task: Make sure the formatting characters are visible
Adding section breaks is much easier if you can see the section breaks. Make sure that the formatting characters are visible. The easiest way to see that formatting characters are visible is usually by the line breaks at the ends of lines, such as the line break at the end of the heading line in the “Sleep Diary” template below.
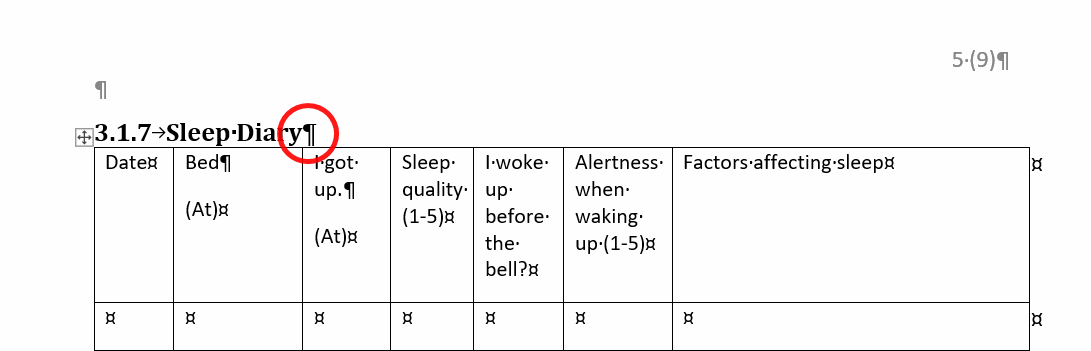
Info: Formatting symbols, what are they?
Formatting symbols (also known as non-printing characters or paragraph marks) are visual indicators that represent the formatting applied to the text in a document. These symbols do not appear when the document is printed but become visible when you enable them. At first, these characters may seem confusing—spaces, for example, appear as dots between words. However, you’ll get used to them quickly!
Task: Display the section number
It is also useful to define a section number to be displayed in the status bar. If you wish, you can do this as follows.
Task: Add the first section break
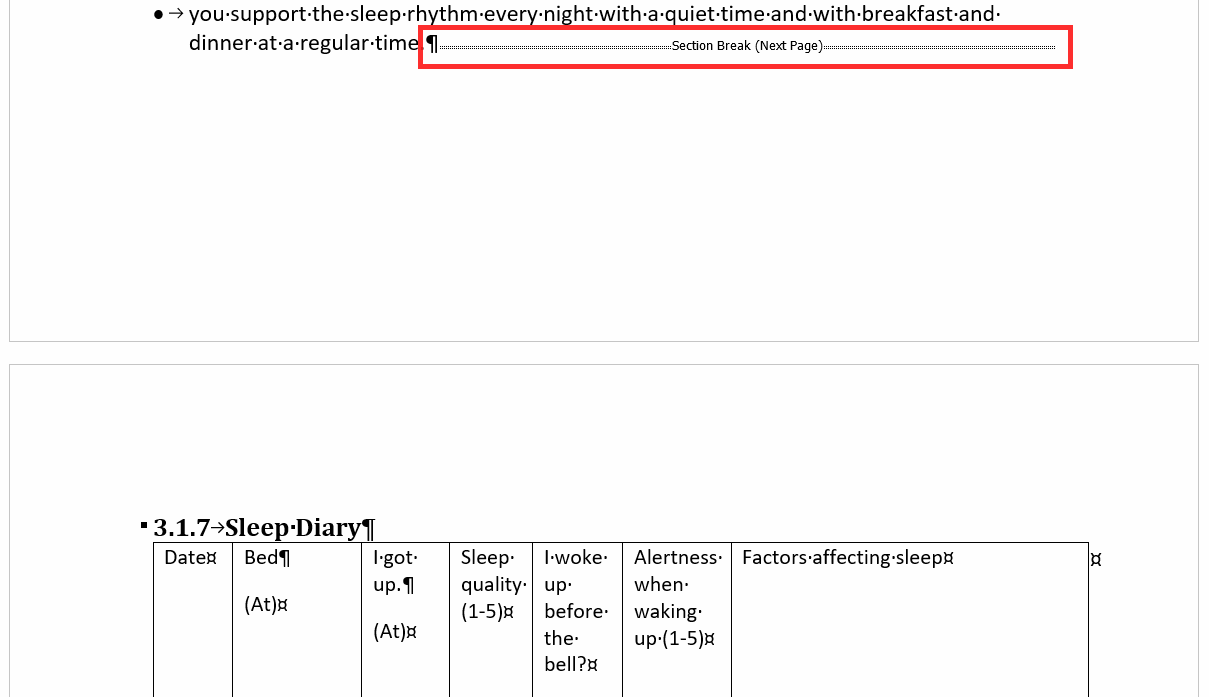
In order to “isolate” the sleep diary on its own horizontal page, we need two section breaks: one before and one after the page. We now add the first section break so that the it starts a new page and the heading “Sleep diary” is at the top of the page.
Model:
Task: Change page to horizontal
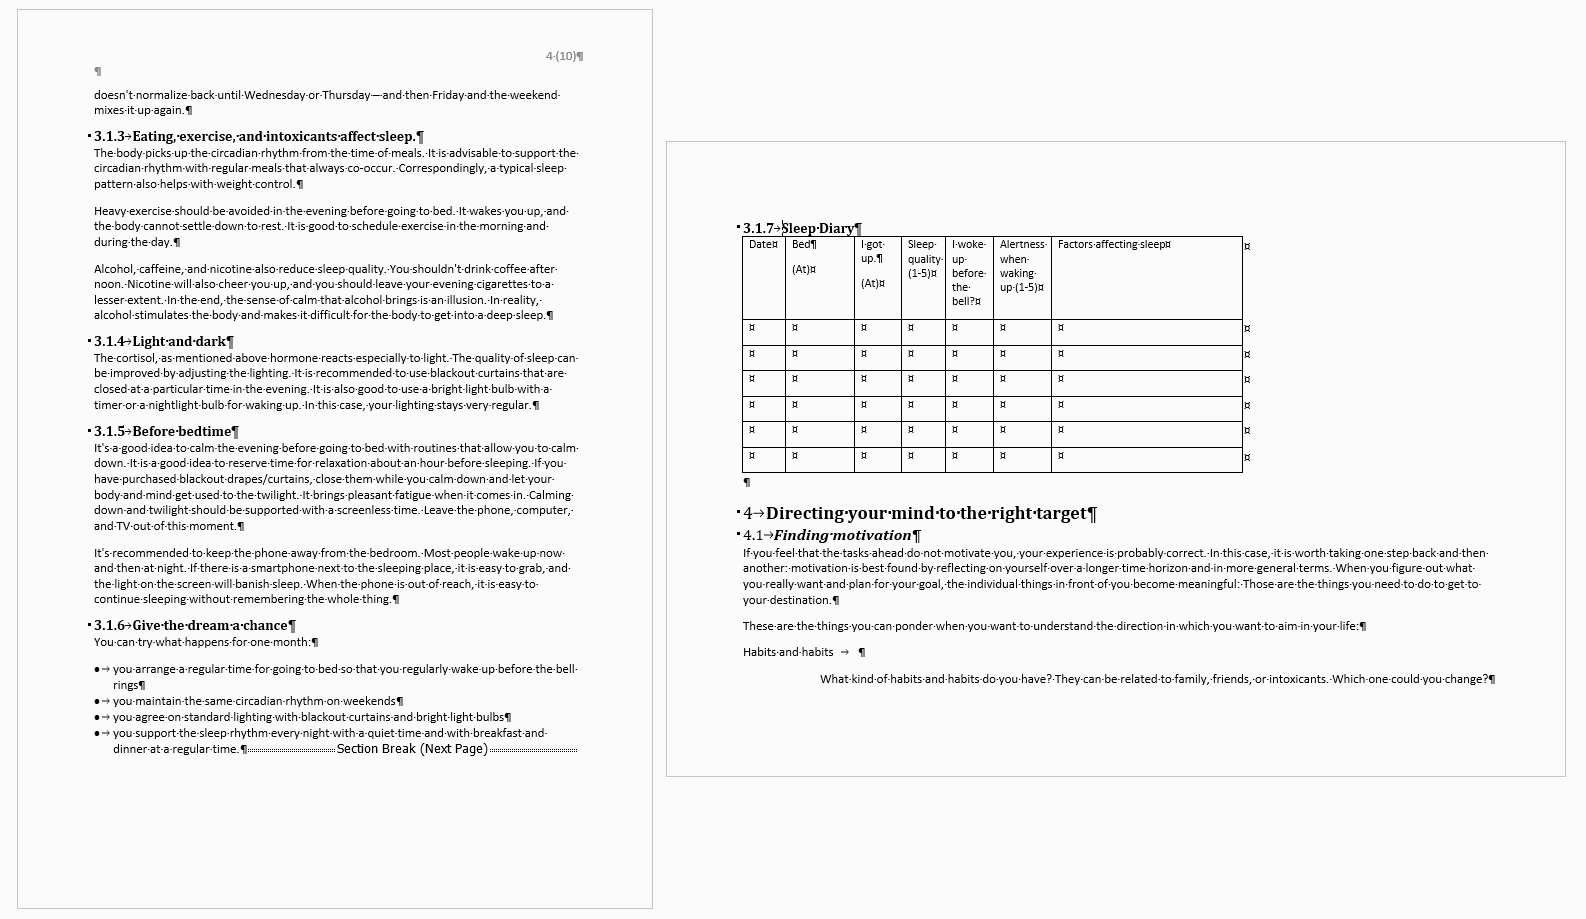
Next, make the pages horizontal, starting from the “Sleep diary” page. (You will notice that the following pages also turn horizontally. We will correct this in a moment.)
Model:
Task: Add another section change
In order to turn the pages after the sleep diary back vertical, we add another section break to the document at the end of the sleep diary table. Model:
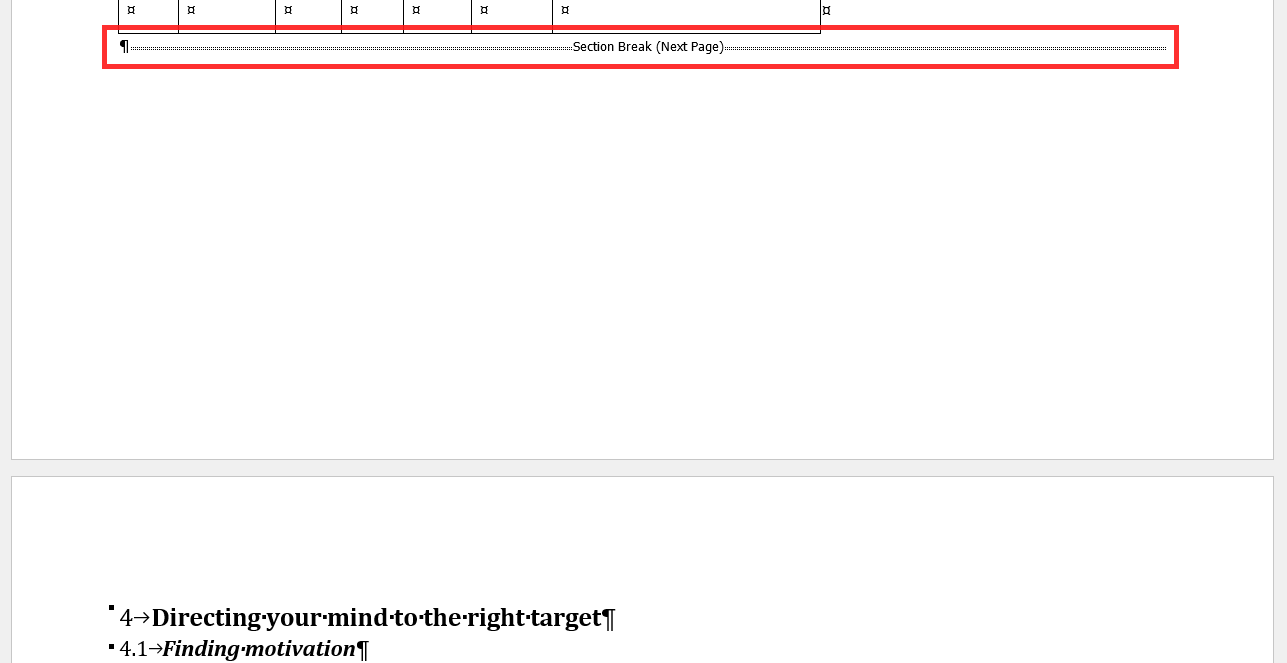
Task: Turn the remaining pages vertical
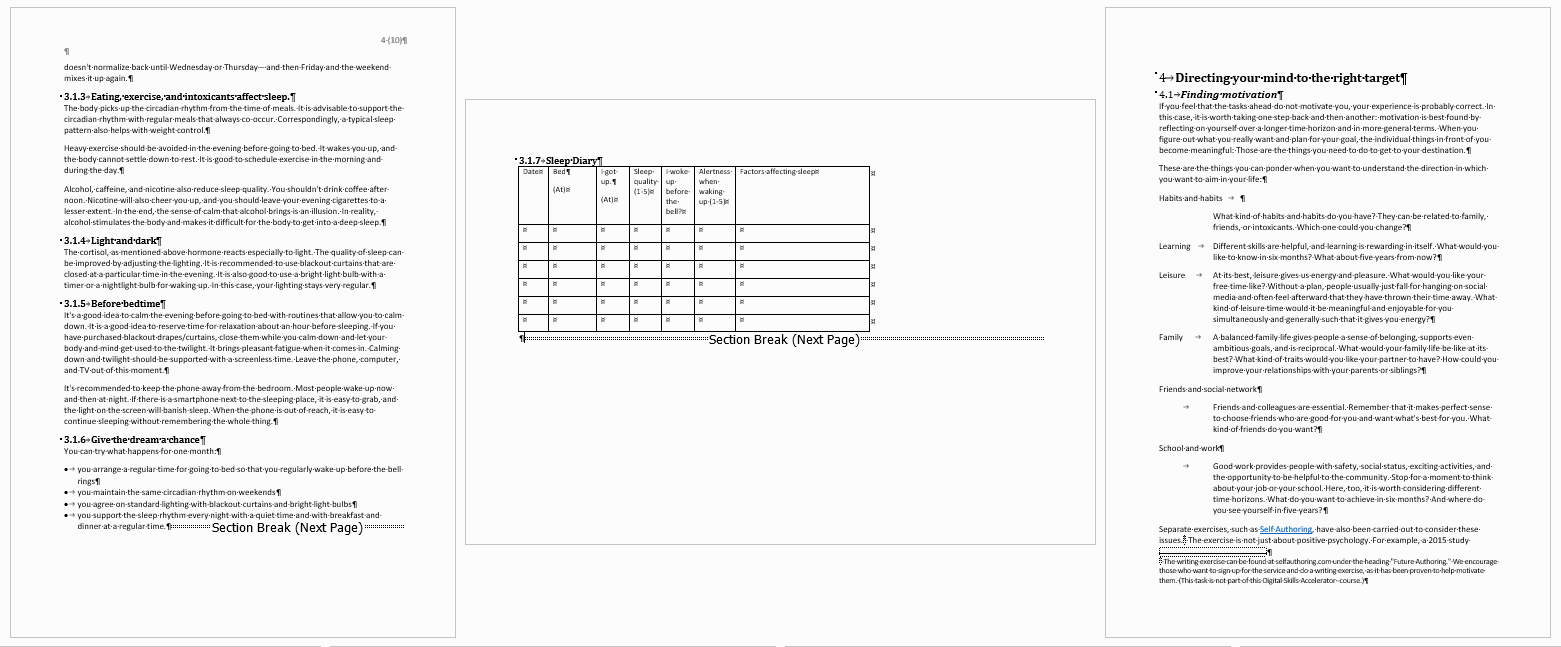
All pages of the document, starting with the sleep diary, are horizontal. Now that we added the second section break, we can turn the remaining pages vertical.
Model:
Task: Format the table
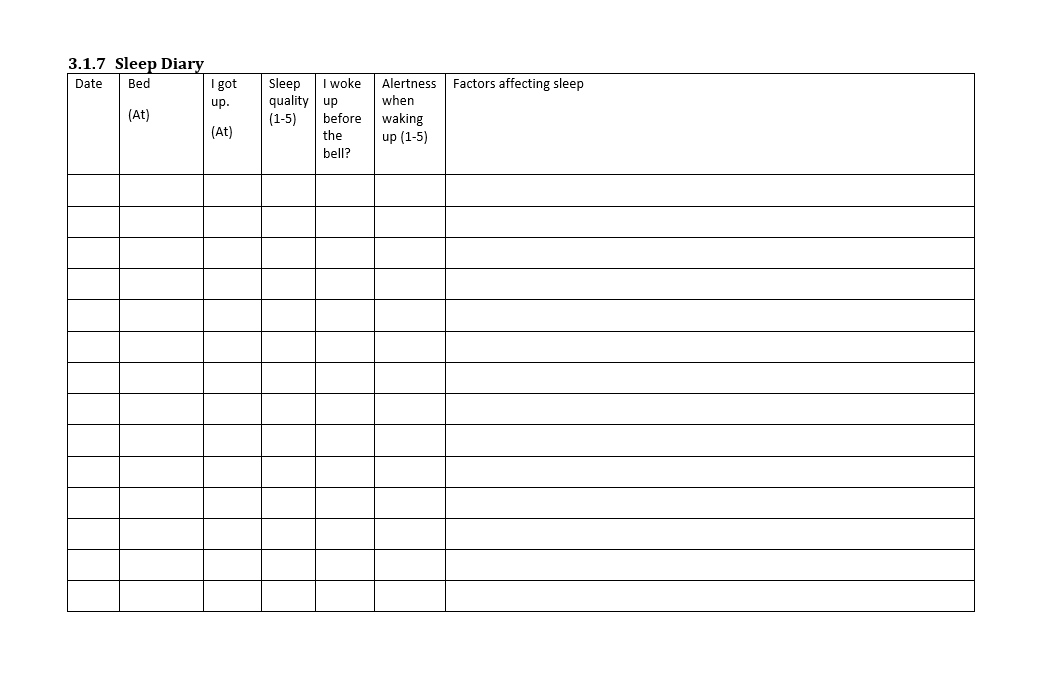
The sleep diary table still has a vertical page width. Format the table to make efficient use of the space of the horizontal page. In the model, rows have been added to the table so that the space is fully occupied (9 rows have been added). In addition, the last column has been widened.
Task: Fix page numbering
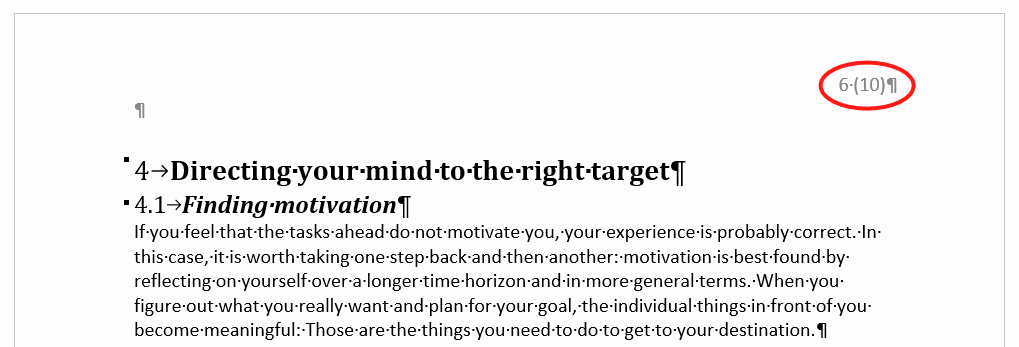
The addition of section breaks causes confusion in page numbering. In practice, you will notice that the page numbers have disappeared from two of the pages and the page numbering starts again from page 7.
This is due to the addition of sections. The page numbers need to be corrected in two ways:
- Each section now has its own page numbering. (This is why the page numbering starts at the beginning.)
- In each new section, it is specified that the header on the first page is different. (This is why the page numbering does not appear on two pages.)
The following corrections must be made to both new sections.
An example of a working page numbering:
Info: Various section changes
There are four different types of section changes.
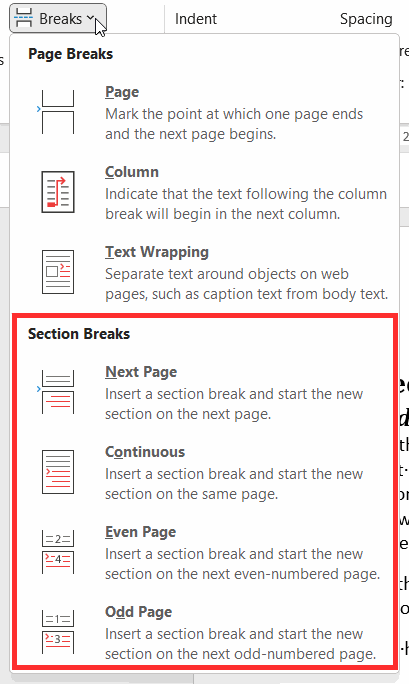 |
#### Next Page
Makes a page break and starts a new section from the next page. Typically, this is used in situations where different page layouts or headers/footers are required. ContinuousThe new section starts on the same page where the previous one ends. Typical in situations, where there is both 1 and 2 column text on the same page. Even Page or Odd PageMakes a page break and starts a new section from the next even or odd page. |
You have now reached the end of the “Horizontal Page and Document Sections” page. Well done, you have made good progress! Are you ready to add a footer to your document? We will pay attention to its layout using a table.