Preview — Office Skills Accelerator course materials (EN). Not production.
Page 4 / 10
Drawing with Shapes
In the previous chapter, we learned freehand drawing. Now we'll draw some more, but this time with pre-made shapes. Shape refers to pre-made patterns and lines. These are especially popular for creating various charts.
The Objective
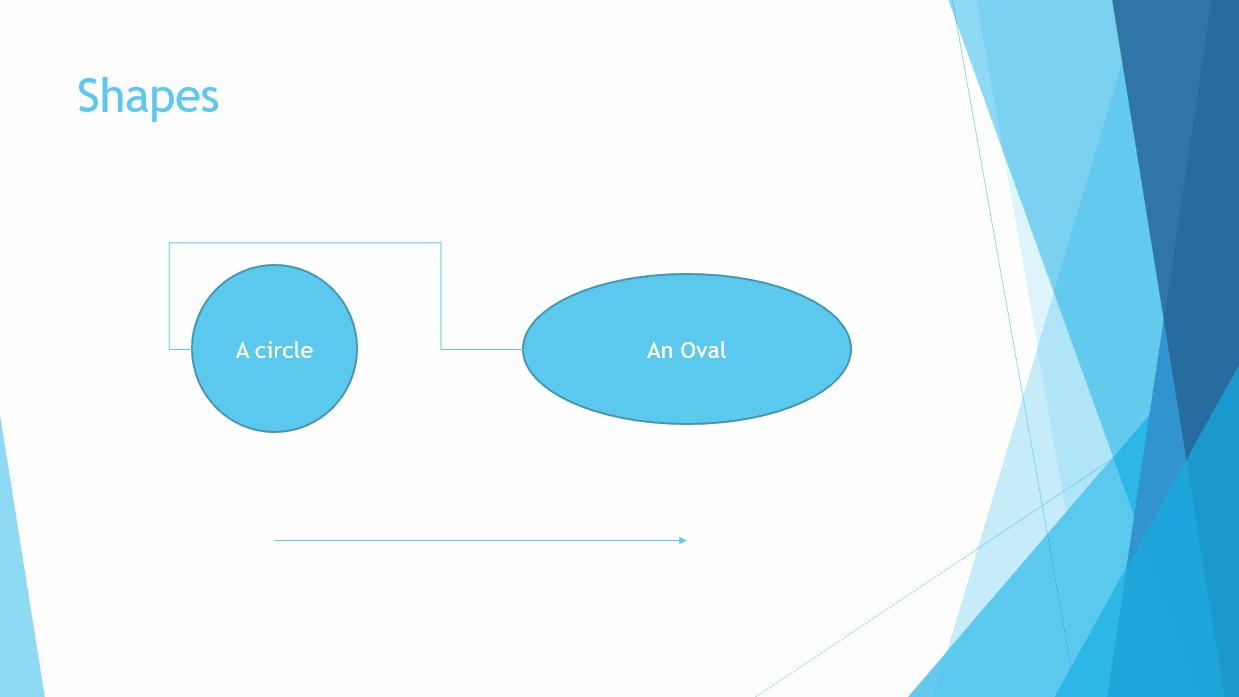
We will continue working on Bringing_Presentation_to_Life.pptx and especially the “Shapes” slide. We will be making different kinds of shapes containing text and arrows. Afterward, your slide might look something like this:
Diassa on pallo ja ovaali yhdistettynä viivallaTask: Add a circle and an oval to your slide
Add a circle and an oval to your slide. You can add the forms at this point even by clicking or dragging. You can also try the Lock Drawing Mode function.
Task: Add text into the shapes
Write "A circle" inside the circle and "An oval" inside the oval.
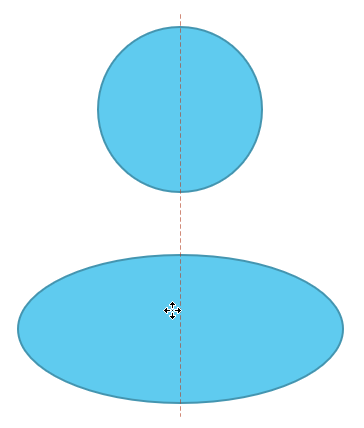
Task: Move the oval below the circle so their centers align
Pallo ja ovaali, joiden keskipisteet ovat päällekkäin kohdakkain
Task: Stretch the circle
Resize the circle by stretching it, but ensure it remains a circle. Did the center of the circle move? Undo the resizing and try stretching the circle by grabbing the corner point and stretching while holding both Shift and Ctrl keys down. What happened?
PowerPoint3 - 2 - Keskipiste
Does the line stick in shapes?
By stretching with Shift+Ctrl keys
Stretching by hand
Task: Add lines
Add a horizontal arrow to the slide
Add a line that connects the circle and the oval (choose Elbow connector)
Task: Group the oval, the circle, and the connector
Multiple shapes can be grouped, to make handling the whole set easier.
Group the circle, the oval, and the connector together
Try to move all of them at once
When you look at the set of shapes, can you imagine any situation where you could use a function like this? Could one, perhaps, make a mindmap using these functions or shed light on different organizational structures?
Now you have learned how to add freehand drawings and shapes to your presentation and how to group and modify them. Test your knowledge in the next mini-task. And don't worry: the results you get from the assignments will not affect your passing the course. They are only a way for you to monitor your learning.
Esityksen elävöittäminen -sanatehtävä
Handwriting, which can also be a _____, can be easily converted either into shapes or into text. Once the drawing has been converted into a shape, it can be formatted _____ tab. _____ is a tool you can use to remove the lines you have drawn, either entirely, or only parts of them. The entire selected shape can also be deleted with the _____ key. If you want to draw several of the same pattern or line after line, the _____ of the mouse is the one to click on the shape and select Lock Drawing Mode. If there are several patterns, they will be used during the transfer _____ that make it easy to align them with each other. Shape size is changed relative to the original by grabbing the _____ and holding Shift key at the same time.
drawing
Shape Format
Eraser
Delete
second button
guide lines
corner point
Next, let's quickly go through making and processing a screenshot in PowerPoint. Are you ready?