Preview — Office Skills Accelerator course materials (EN). Not production.
Page 3 / 10
Freehand Drawing
There are two types of drawing in PowerPoint: freehand drawing and adding pre-made shapes. On this page, we learn freehand drawing, and on the next page, we learn about the use of shapes.
With the drawing feature, you can bring your style to your presentation and make it look more personalized.
New feature
Note that older versions of PowerPoint don't support freehand drawing. If this is the case for you, you can skip this chapter. The easiest way to figure out if you're using an older version of PowerPoint is to try and do the tasks below.
The Objective
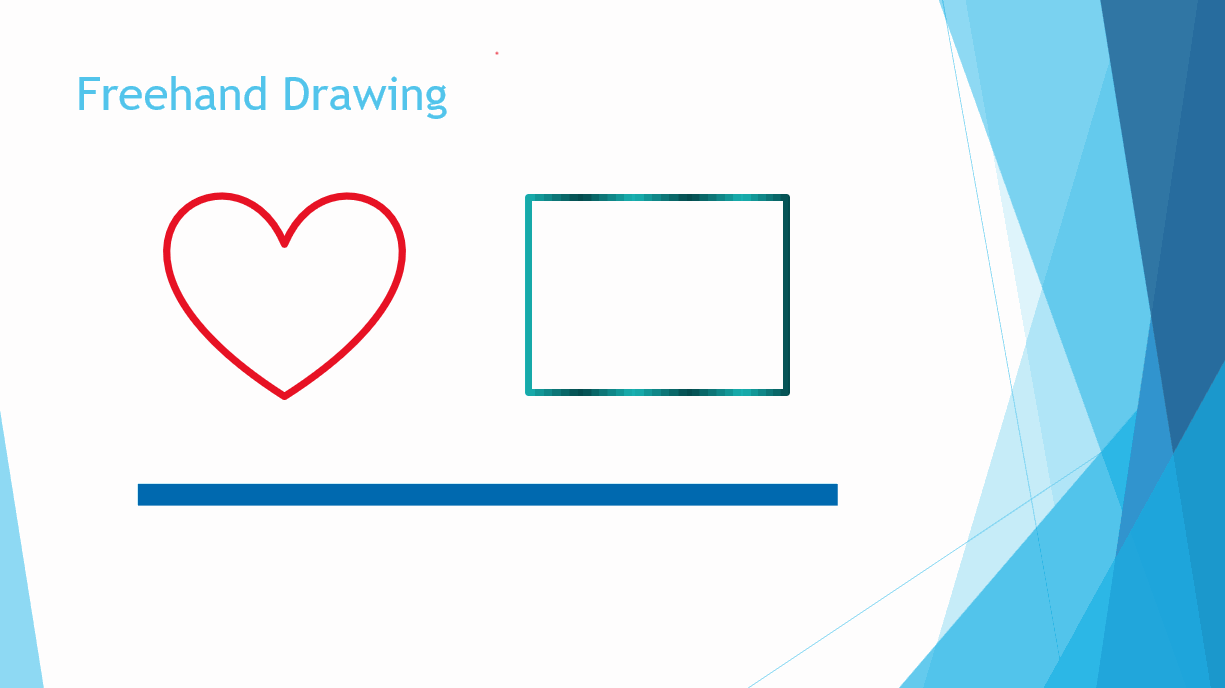
In the task, we continue the previous exercise Bringing_Presentation_to_Life.pptx and modify the slide with the title “Freehand drawing”. We will first make a few drawings on the slide and later turn them into shapes. After completing the tasks, the slide may look a bit like this:
Lopullisessa diassa on sydän, suorakaide ja viivaTask: Change the slide layout to ”Title Only”
Let's arrange some room for the drawing.
Navigate to the slide titled "Freehand drawing", and set its layout to Title Only.
Task: Navigate to the Draw tab
Freehand drawing tools are on the Draw tab. It should appear between the tabs Insert- and Design. However, it's not shown by default in all PowerPoint versions. If this is the case for you, below are the instructions on getting the Draw tab visible.
Task: Do some Freehand drawing
Draw whatever you like on the slide.. For example, you could draw a rectangle and a heart.
Mac: The ruler
In the next task we will use the Ruler function found on the Draw tab. Sadly, for MacOS users this function is not available.
So if you are using macOS, you can skip the next task.
Task: Draw a straight line on the slide
Draw a straight line on the slide using Ruler function.
We can convert drawings into shapes. If this isn't almost sorcery, then nothing is! First, we select the drawing and then convert it to a shape.
Task: Select a drawing
Select one of the drawings you made on the slide, such as a heart. If needed, use the Lasso selection tool.
Task: Convert your drawing into a shape
Convert the drawing you chose into a shape. You're free to do this to multiple drawings too.
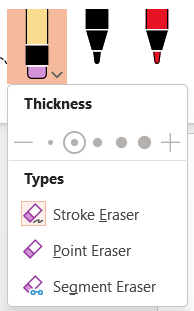
Info: The erasers
The **erasers** let you remove things you've drawn - either in whole, or only parts of them.
You can also remove a selected shape as a whole by simply pressing `Delete`.
Now you have learned how to do freehand drawing. In practice, we ended up turning the drawings into shapes. Next, let's look at how you can take advantage of pre-made shapes. Freehand drawing and shapes together are an efficient way to create presentations.