Preview — Office Skills Accelerator course materials (EN). Not production.
Page 4 / 9
Images
Images are a great addition to PowerPoint presentations as they can enhance the understanding of the speech and text. The saying "a picture is worth a thousand words" truly applies to presentations. You can add images to your presentation by copying them, adding them from your computer or image bank, or adding online images from the web and cloud services. By reviewing the content on this page, you can learn in detail how to add an image to your presentation.
The Objective
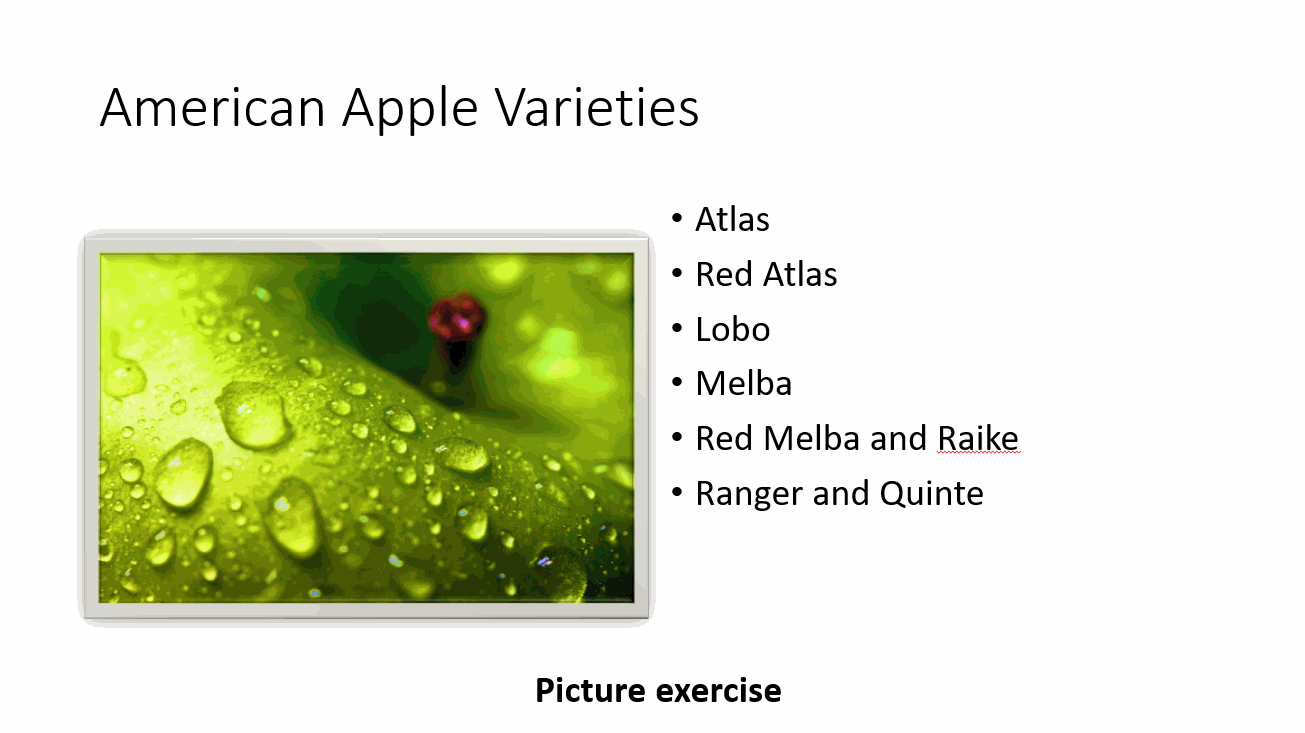
We will continue editing PowerPoint_Exercise.pptx by adding another slide using the “Two Content” template. The slide consists of an image and some text. The image is formatted and compressed.
A reminder: What's a placeholder, again?
We will now talk about placeholders. Let's have a quick peek at what it's all about.
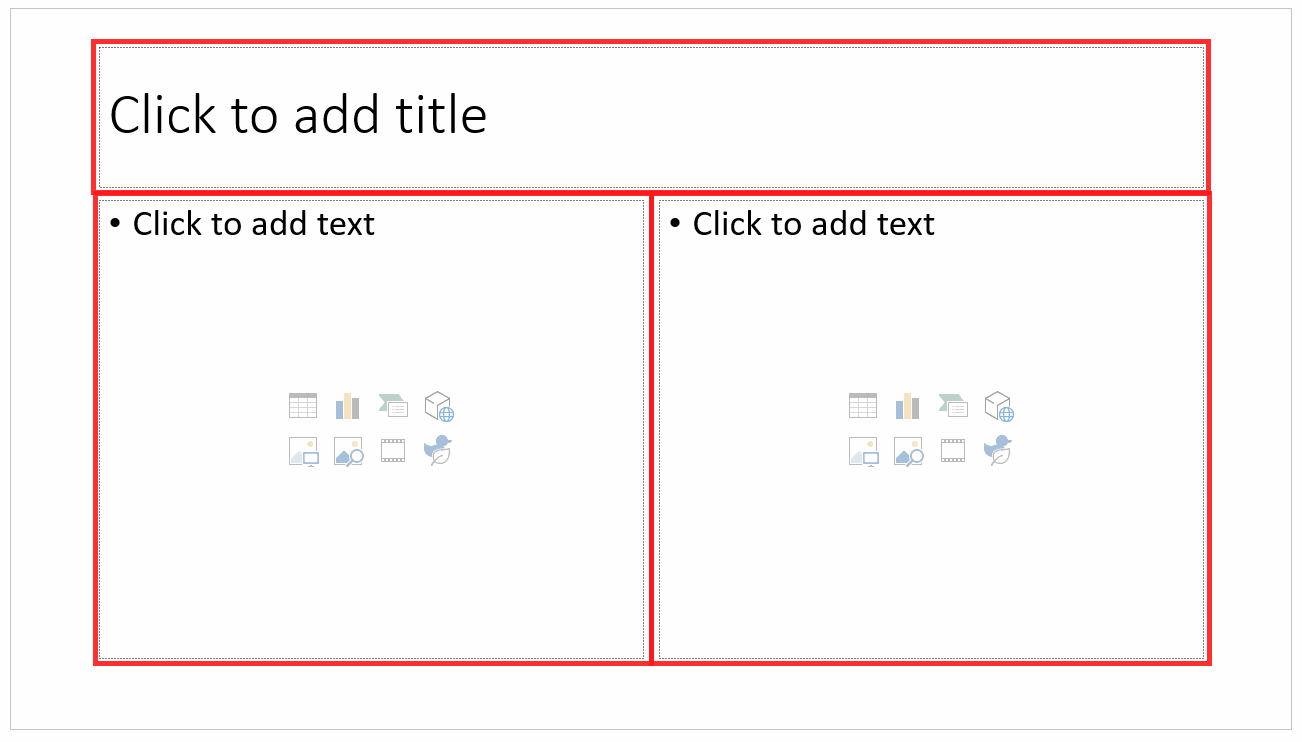
A placeholder means a predefined slot in a PowerPoint slide to which you can add content by simply clicking on them. In the example below, three placeholders are visible: The title and two different content placeholders.
Now we will start adding images. First, we will create a slide, add an image, and then format and compress it.
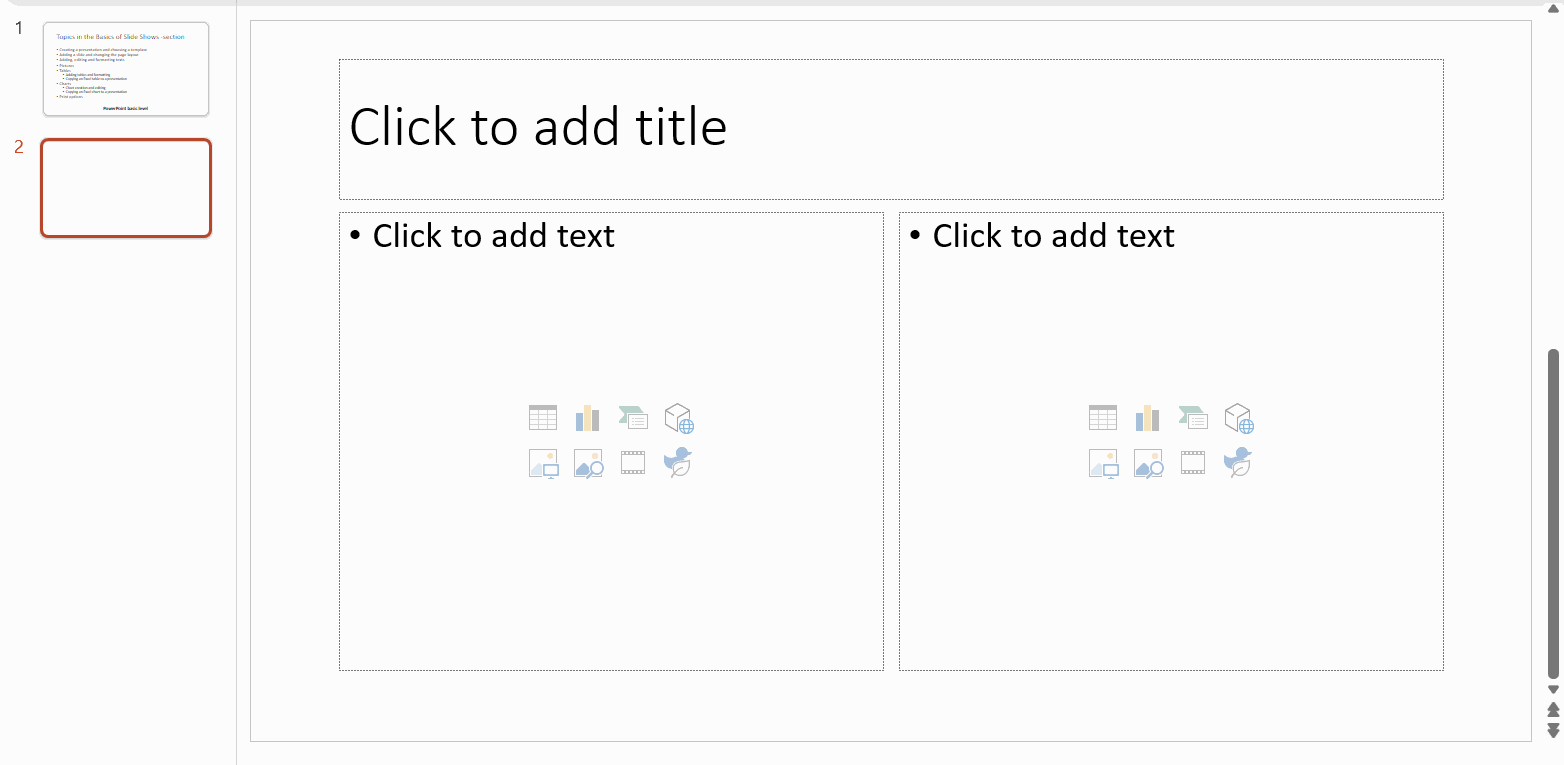
Task: Create a new slide using the template **Two Content**
Create a slide using the Two Content template.
Example:
Task: Add an image to the slide
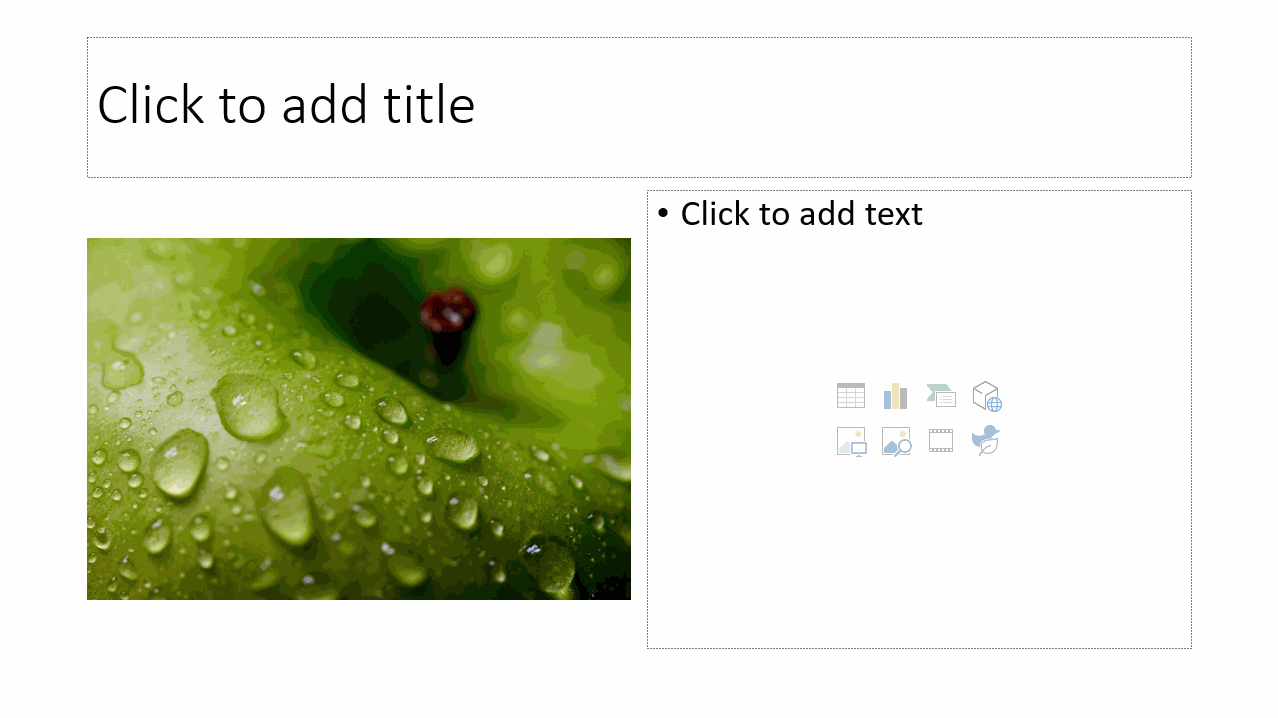
Add an image of your choosing to the placeholder on the left.
Example:
Task: Add some text, a text frame, and a title.
Info: Adding an image from ”Online Pictures”
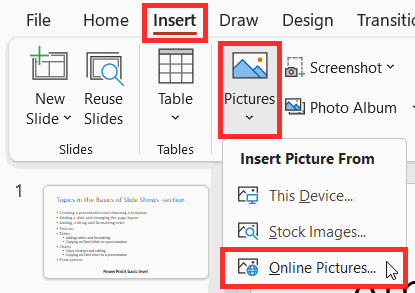
Kuvat-painikkeesta aukeaa pudotusvalikko
You can also add images by navigating to **Insert** tab in the **Illustrations** group, when you can also use the option **Online Pictures**, or add an image without a placeholder.
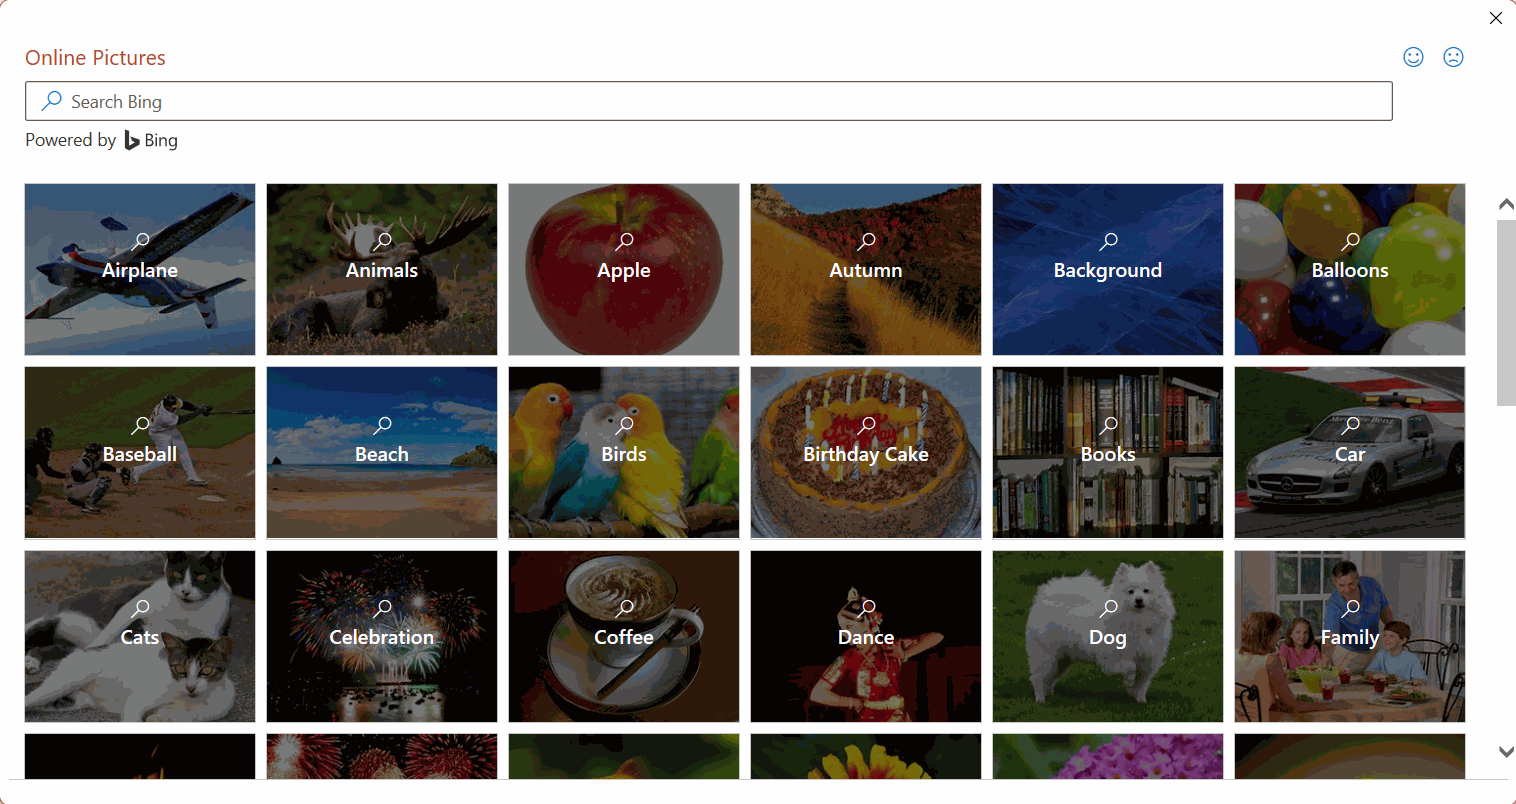
Kuvassa on auki Online-kuvat-ikkuna
As a default, you will not see all the images, only those with the Creative Commons (CC) license. You can freely use CC-licensed images.
Task: Format the image as you wish
Format the image as you wish. In the model below, for example, borders have been placed on the image, and its color saturation has been increased to 400%.
Info: Removing the image formatting
Once an image is selected, you will have access to the Picture Format tab.
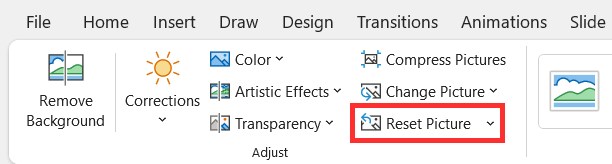
Palauta kuva -painike sijaitsee säädä-ryhmässä.
In the **Adjust** group of the tab there is a button **Reset Picture**, which you can use to remove all the formatting you have made to the picture, and return it to its original size.
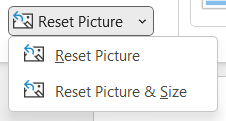
Palauta kuva -painikkeen oikealla puolella olevaa väkästä napsauttamalla saadaan auki valikko
By clicking the triangle to the right of the button, you can choose whether to remove only the formatting or restore the image to its original size.
Mac: The compressing choices of an image
You have reached the end of the Images chapter, good job! Before moving on, would you please answer the following question:
💭Reflect
PowerPoint 1 - Kuvat - Loppukysely
Do you feel that you are competent in adding and modifying pictures in PowerPoint?
Yes
No
If you find yourself troubled or have any questions at all, do contact us, for example by email or on the course message board. You're also welcome to comment and help the other students in case they are experiencing problems!
Next, we add tables and graphs as part of the presentation. Check that you have saved your practice session, and then move on.