Preview — Office Skills Accelerator course materials (EN). Not production.
Page 5 / 7
Your Own Styles
We have used a few different styles throughout this course. In the document body text, we have used the Normal style, and in the headings we have used in particular the Heading 1 style and the Heading 2 style. Next, we'll look at how we can use these styles more efficiently. First, we can customize these styles.
In addition, we can also create our own styles. So far, we have styled the documents by adapting the body text. If a similar structure is repeated in several places (or even in several documents), it makes more sense to create its own style. For example, in the previous two Word sections, we made hanging indentations. On this page we’ll create our own Hanging Indentation style. You may want to recapitulate this from the Hanging Indent and the Ruler page.
Styles can also be grouped into a style set. We used such a style set in the first Word chapter on the Formatting Headings and the Document page, when we styled a document using a style set. You can also visit the page to remind yourself of this.
The Objective
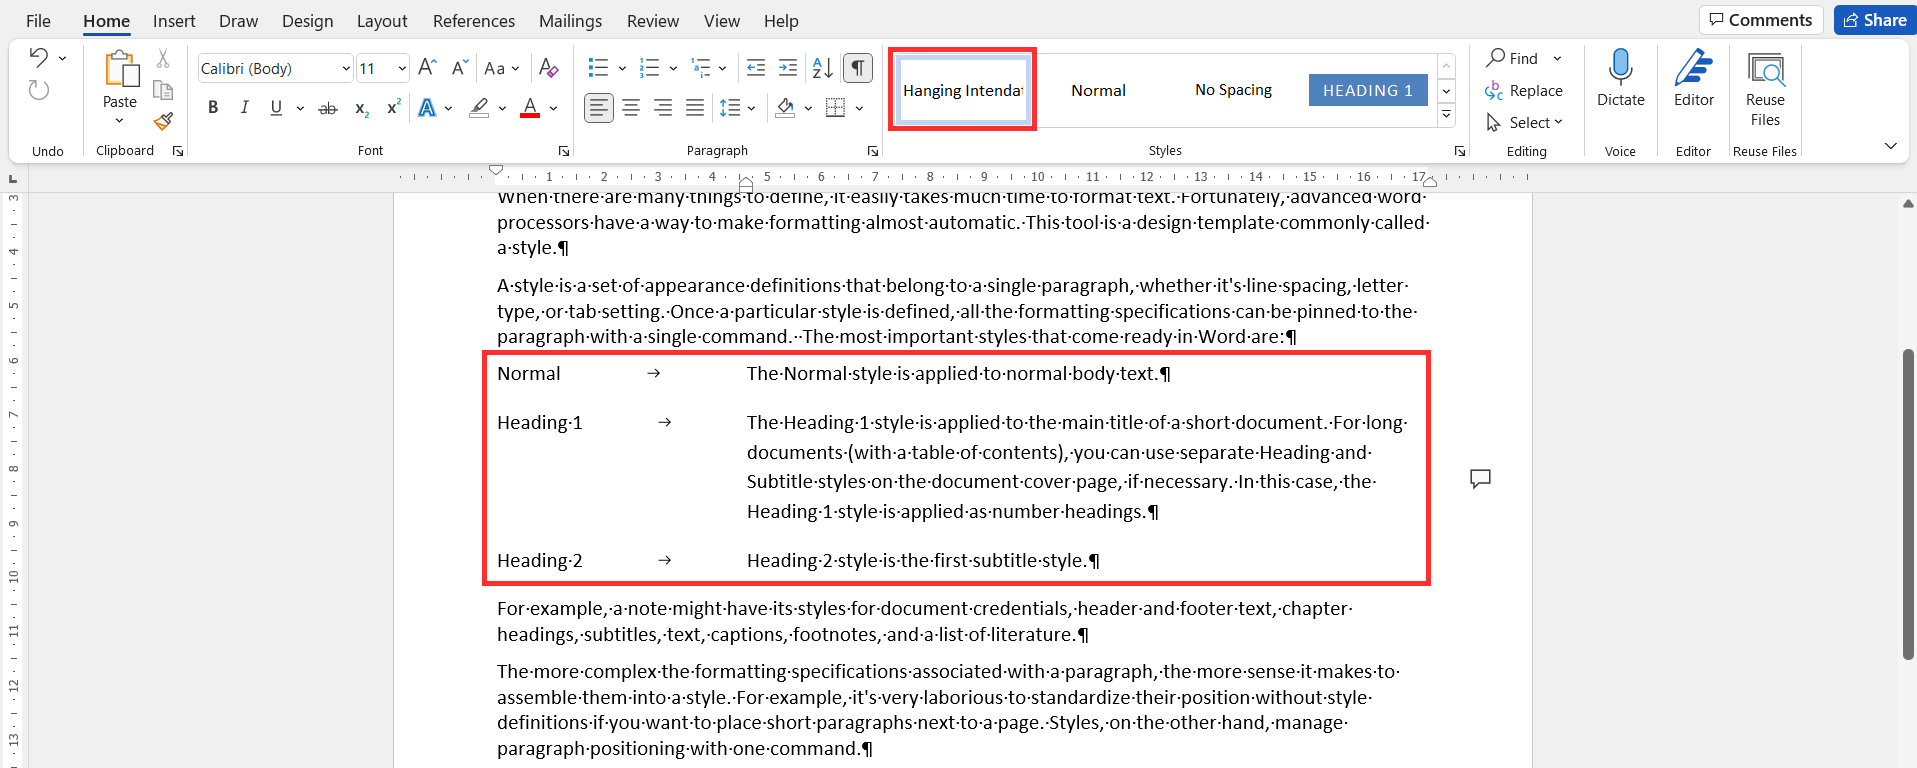
We will do the exercises in the Advanced_Word.docx document, where we will add a new style called Hanging Indent and apply it.
The section of the document listing different styles and their uses employs the Hanging Indent style, which features a hanging indent.
Please note that line spacing and font size in the Normal style have changed, too.
Task: Change the font size of Normal
Edit the document Advanced_Word.docx.
Edit the font size of the Normal style and set it to 11 pt.
Task: Change the paragraph and line spacing for the Normal style
Edit the paragraph and line spacing of the Normal style as follows: Spacing before and after 6 pt, line spacing 1.
Patagraph spacing refers here to the empty space before and/or after a new paragraph.
**Line spacing ** refers to the distance between the baselines of the lines, which determines how much empty space is left between the lines.
Task: Create a new style in the document and apply it
Name the style Hanging indentation and set the depth of the hanging indentation to 1.8 in (or 4.6 cm if you are using metric system).
Here is another example of how to use the style. Note that on the Home tab, the Styles group has a new style visible.
Info: Style gallery and style set
Word has a huge number of predefined styles, and you can make more of them yourself, as we did in the previous exercise.
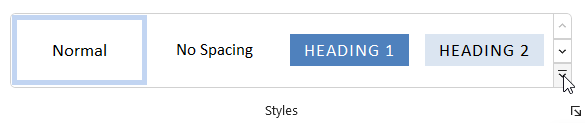
To make it quick and easy to use the styles, there is a gallery of the most commonly used styles in the Styles group on the Home tab.
This style gallery is sometimes called a “quick styles”.
You can also save the style gallery as a style set to use it in other documents.
You can edit the gallery, for example by removing styles that are not used, or adding missing styles.
The style gallery should be edited, especially, when creating document templates or if you want to use it in other documents.
Extra task: Remove Subtle Emphasis, Emphasis and Strong from the style gallery
Mac: Saving style gallery as style set
The Save as a New Style Set button used below is in a slightly different location on the Mac version.
Extra task: Save the style gallery as a style set called “Own Styles”
Extra task: Take Own Styles into use in another document
In this exercise, you will practice using a style set you have saved in another document.
Do not close the Advanced_Word.docx file, because you will still need it after this task.
Start a new document, take the Own styles style set into use and check if you have the same styles as in the style gallery you edited. Save the empty document as Styleset.docx and close it from the screen.
Next, we will go through general guidelines for styling documents. Are you ready?