Tools for Presenting
The presenting situation can be challenging in many ways. However, PowerPoint supports the presenter by offering, among other things:
- a separate Presenter View where you can write your separate notes
- a "laser pointer" that you can control with the mouse
- a tool for tracking time
- the possibility to zoom in on the slide in detail
- the possibility of blacking the screen for some time
We will also familiarize ourselves with using the video projector and screen sharing.
The Objective
Continue working through the tasks in the file SmartArts_videos_and_presentation_view.pptx, which you know from previous pages. Next, we will practice several PowerPoint functions for the presenting situation and add a note to the slide containing the YouTube video.

Info: Using a video projector
The presentation is usually shown to the audience with a video projector.
Check the connection port of your computer and connect the video projector to it.
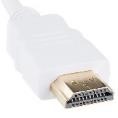
Modern computers usually have an HDMI port, although some VGA ports are still in use.
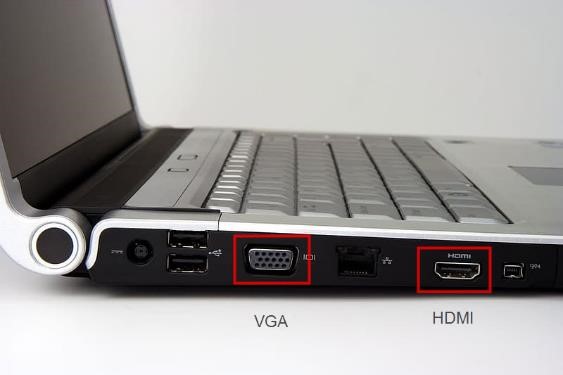 |
VGA

Sharing a laptop screen for video projectors
Press the keyboard shortcut Win+P.
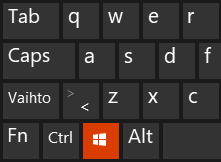 | `Win` key. |
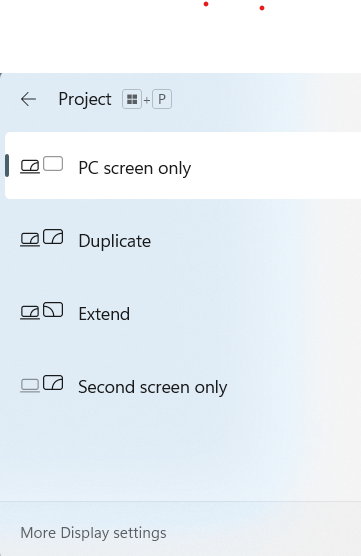 |
#### PC screen only
Sharing the screen to a video projector ends.
DuplicateBoth the projector and the screen share the same screen. Extend (recommended)This is recommended whenever the computer is connected to a video projector. The PowerPoint presentation can be made visible with a video projector, but none of the information on the computer's screen is shown to the audience. This is also used in PowerPoint's presenter view. |
Info: Manageing a PowerPoint presentation while presenting
The presentation will be shown in the Slide Show mode.
Open SmartArts_videos_and_presentation_view.pptx and change into Slide Show mode by clicking Slide Show located on the lower right edge of the PowerPoint window.
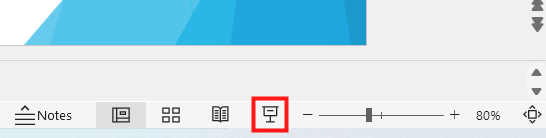 | Slide Show mode shows the slide where you were last. |
Alternatively, you can use the F5 button to move to the beginning of the presentation Slide Show.
In the Slide Show mode you can move from one slide to another by using arrow keys and return to the Normal mode by pressing Esc.
When you move the mouse pointer to the bottom of the screen, buttons appear in the lower left corner, through which you can also move from one slide to another or pause the presentation. You can also, for example, move to a specific slide.

Task: Open the presenter view
Although the presentation can be shown in the Slide Show view, the Presenter View is the most pleasant way to present when you have connected your computer to a video projector or an external display. In this case, the presentation itself is shown on the external screen, but on your computer you see a separate user interface for the presenter.
The Presenter View
The keyboard shortcut for entering the Presenter View is Alt+F5.
When the screen is extended and you enter the Slide Show mode or press F5, you usually enter the Presenter View automatically.
If this does not happen automatically, navigate to the Slide Show tab.
|
Click Monitors in the group Use Presenter View. Take a look at Monitor section, and make sure Automatic is activated. Now the video projector is showing a specific slide, and on your own screen you can see the Presenter View. |
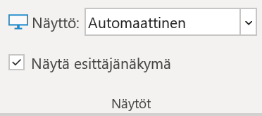 |
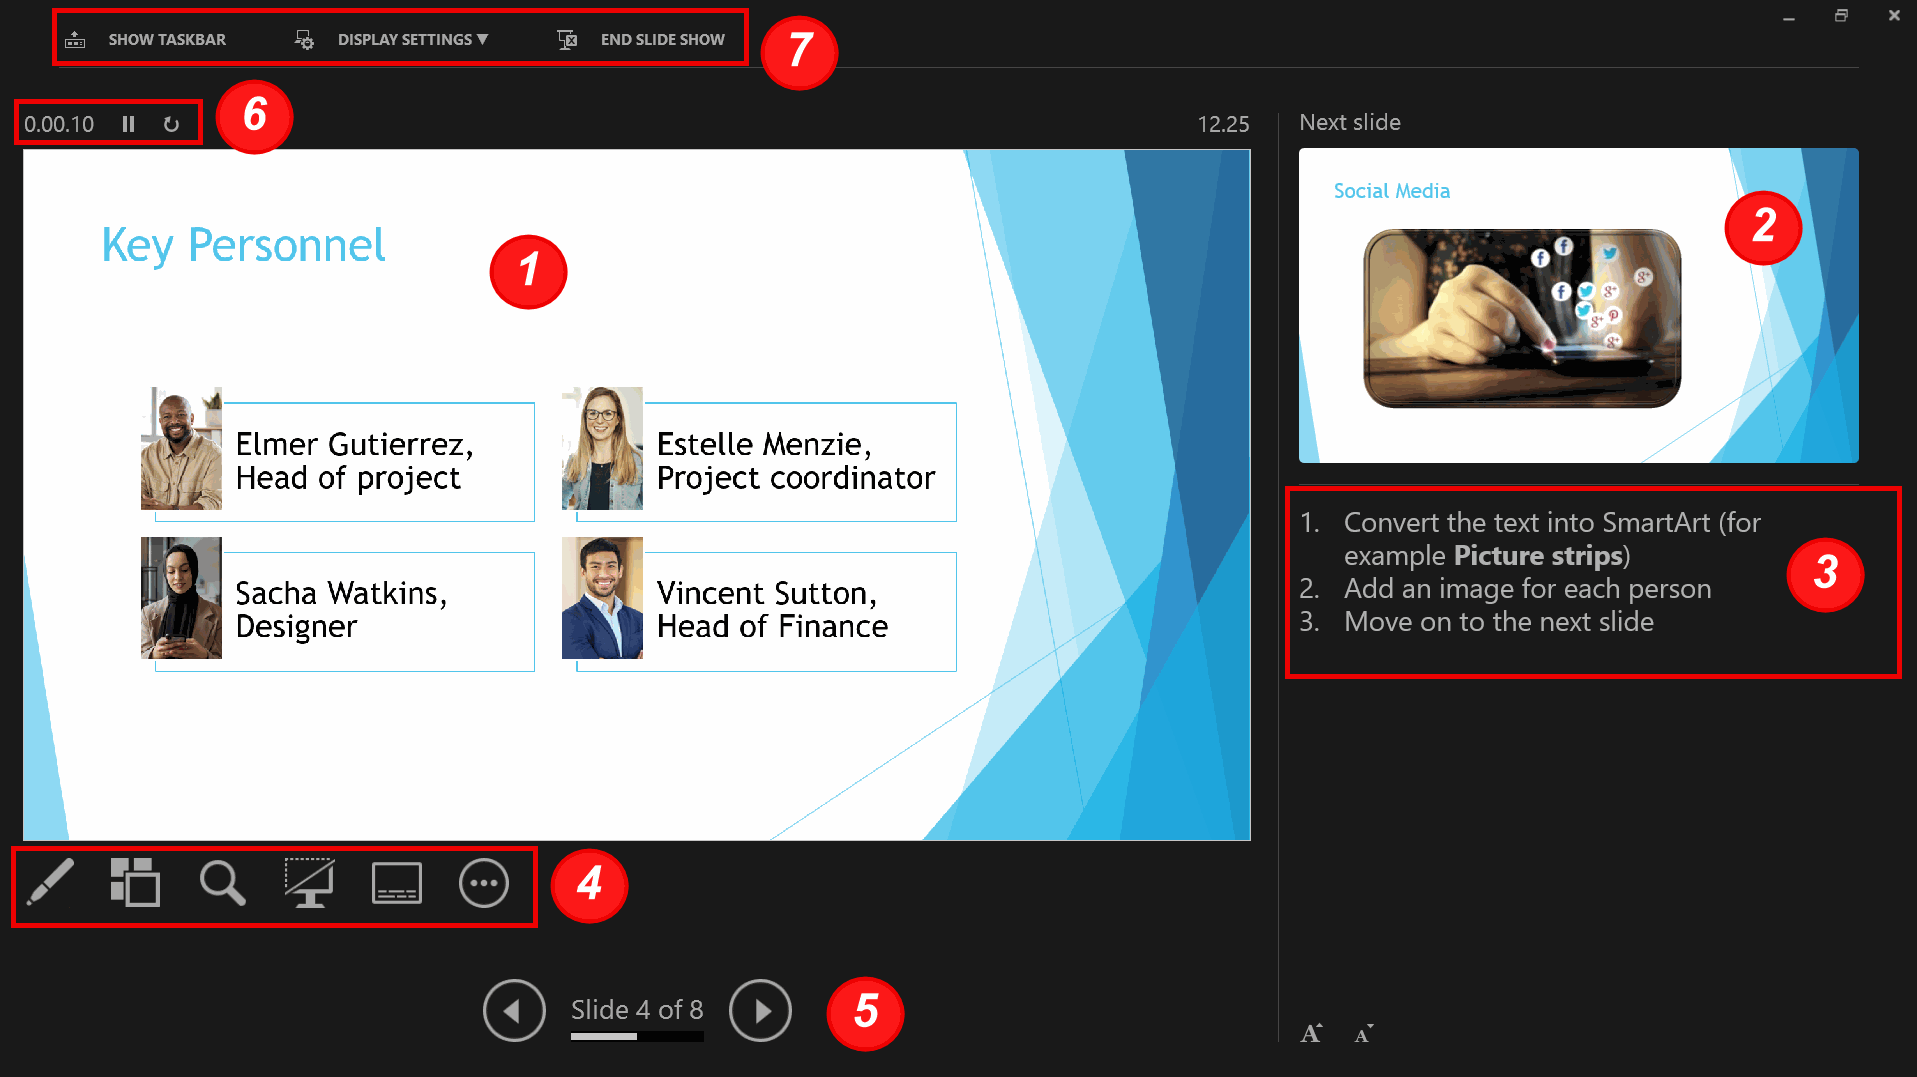
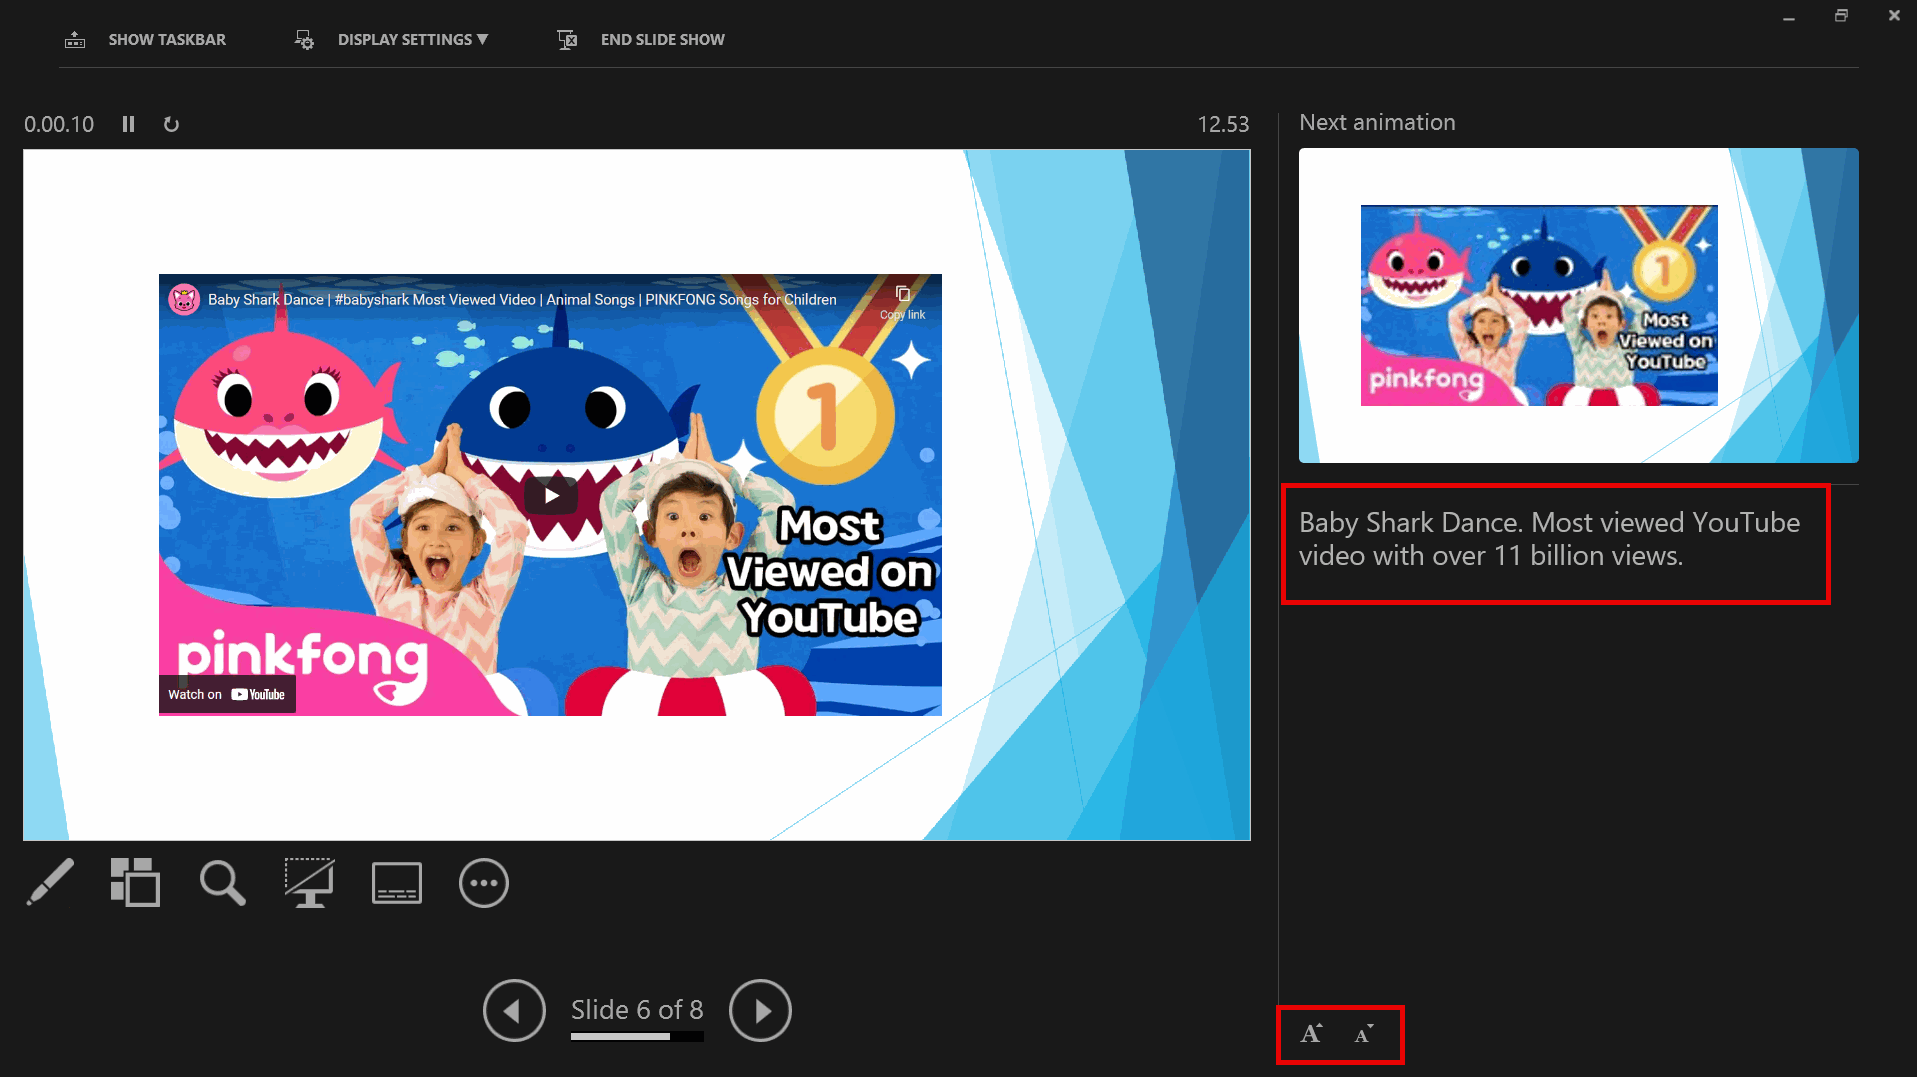
Here is an illustration of the Presenter View:
- A slide shown to the audience with a video projector
- Next slide
- Presenter notes (you'll learn to make these at a later point)
- Presenter tools
- Moving to the next or previous slide
- Time counter, from which you can monitor how long your presentation has lasted
- Among other things, "end show"
If you cannot use a video projector or two screens for your presentation, you can also use Presenter View on a single screen by pressing the keyboard shortcut Alt+F5. You can end the Presenter View by pressing Esc.
Task: Use the Laser Pointer
Next, let's familiarize ourselves with a few functions that may come in handy in a presenting situation.
The Laser Pointer, the Pen, and the Highlighter
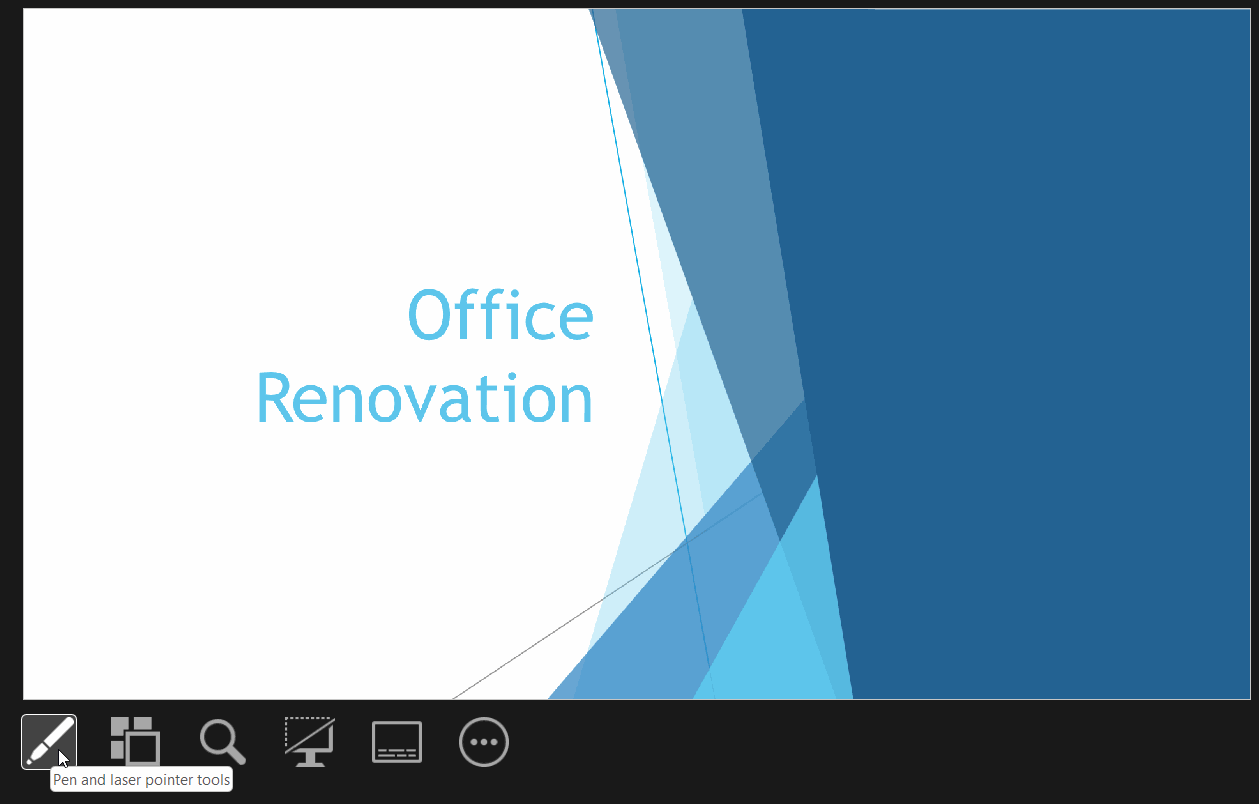
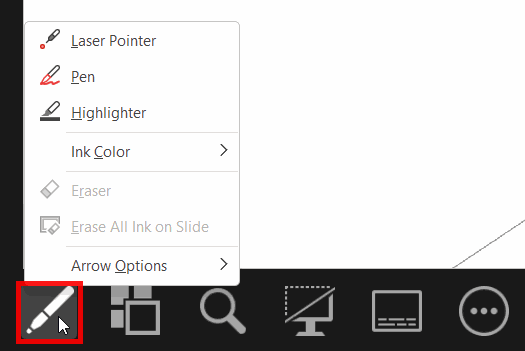
|
Using the Laser Pointer, you can draw your audience's attention to detail. By pressing |
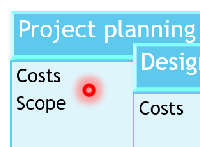 |
|
During the presentation, you can draw on the slide with the Pen, or highlight text with the Highlighter. The words "Head of project" are highlighted in the picture to the side. You can exit the Pen and the Highlighter modes by pressing |
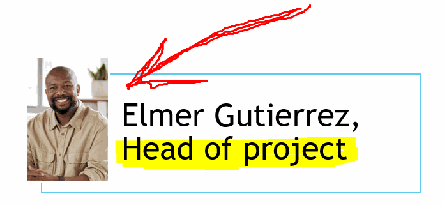 |
|
When you stop presenting, you can decide whether the drawings are saved in the presentation. |
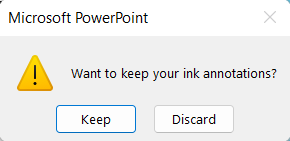 |
Task: Open all the slides and navigate to the slide 5
Task: Zoom the slide so that the list of text fills the screen
Task: Blacking and unblacking screen
Task: Stop the timer and reset it
A good show always stays on schedule. For that, it is good for the presenter to know precisely how long the presentation has lasted. Let's familiarize ourselves with the clock shown in the presentation view.
The time used for presenting
 | In the presentation view, the upper left corner of the current slide shows how long the presentation has been running. |
 | When your actual show time starts, press the button to restart the countdown from the beginning. |
 | You can also stop the timer if necessary and |
 | continue where you left off. |
Task: Write a note
Earlier, we mentioned notes. Next, let's get acquainted with how and where to add them.
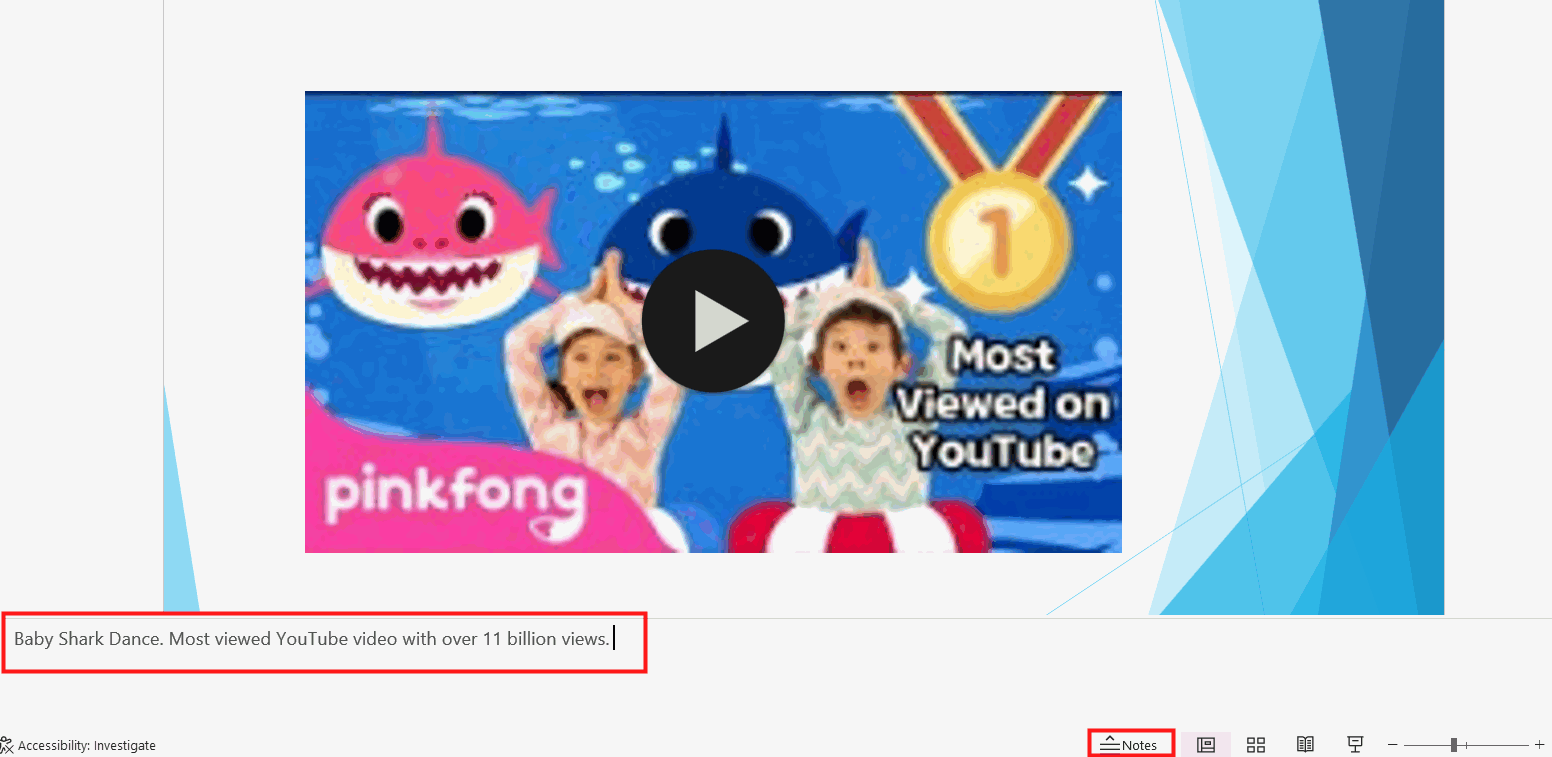
Exit Presenter View and navigate to the slide containing the YouTube video. Write down in the notes the name of the YouTube video on the slide and what it's about.
Presenter Notes
You can write the Presenter Notes below the slide, into the Notes box.
 | If you cannot see the box, click on the **Notes** button. |
Task: Enter the Presenter View and see how the notes look like there
Increase or decrease the font size of notes in the Presenter View.
Now exit the Presenter View by pressing Esc.
You have now reached the end of the second PowerPoint chapter. Well done! You should now be able to make high-quality, inspiring presentations to use in your own everyday life. Check again that all the exercises have been done.
Turning in the exercises
Turn in the file SmartArts_videos_and_presentation_view.pptx by attaching it in an email sent to the address [email protected]. Write PowerPoint 2 assignment as the subject for the email.
Have you turned in the exercises?