Make the Presentation More Interesting with a Video
Today, more and more video material is available. PowerPoint also supports their use. You can show factual information as a video or use videos during the break of the presentation to lighten the occasion.
On this page we learn e.g.
- embedding and linking different types of videos to a presentation
- compressing videos to a smaller size
- possibilities for video editing and formatting
Downloading the base file
Download and save Social_media.mp4 to the location of your choosing. We will be embedding it to your presentation.
Social_media.mp4The Objective
We continue working on SmartArts_videos_and_presentation_view.pptx, and we will embed the video clip to the slide 7. The video clip has been edited in the following way:
- Its edges are stylized
- The video has a start screen, which fades out when the video starts
- Unnecessary material has been cut from the beginning and end of the video
- When a slide is reached in the Slide Show view, the video starts automatically in full screen mode
- The video is packaged to be sent in an e-mail.
At the end, the slide will look like this:

Task: Add the video clip Social_media.mp4 to the slide 7
Navigate to the slide 7 and embed the video clip you downloaded. Do not embed the file as a link, because in that case it will not be transferred along with your presentation.
Mac: Poster frame
The buttons concerning the poster frame are named differently when working with MacOS.
Task: Change the poster frame
Change the poster frame into a picture where social media icons are visible. You can find a part like this around 5 seconds into the video clip.
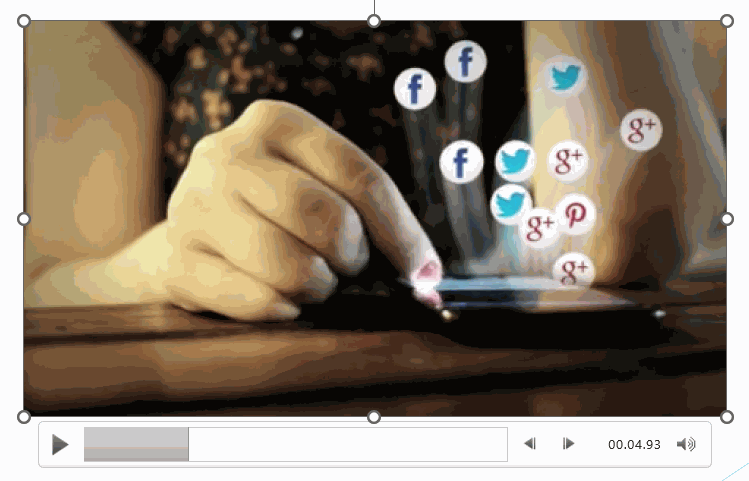
Fast forward the video to the right part, and save the poster frame by navigating to the Video Format tab, then the Adjust group, and clicking Poster Frame. Choose the option Current Frame.
Familiarize yourself with the subject by reading the instructions below.
Task: Format the video using a premade style
Set frames for the video and round its corners.

Info: Removing the formatting of a video
This is additional information, and doing this is not requied.
If you want to, you can try and remove all the formatting from your video. Afterwards, use Undo, so that you won't lose the changes you made earlier.
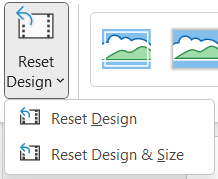 |
You can remove the formatting and resizing you've made to the video by navigating to the Video Format tab, then the Adjust group, and clicking Reset Design. Reset Design: Removes all the formatting in the video. Reset Design & Size: Removes the formatting in the video and returns it to its original size. |
Mac-users: Adjusting the beginning and the end of the video clip
In the Mac version, the user interface for adjusting the beginning and end of a video is somewhat different. The tool is accessed exactly the same way as in Windows, using the Trim Video button on the Playback tab, but the tool works a little differently.
Task: Remove the beginning and end of the video
Cut off the parts at the beginning and end of the videa that do not show social media icons. This means setting the start at about 1 second and the end at about 12 seconds, resulting in a video with a length of about 11 seconds.
Extra task: Add fade-in to the video
If you like, add a one-second fade-in to the start of the video.
Task: Make the video start automatically
Task: Use the Slide Show view to check how the video works
Change to the Slide Show view using the Shift+F5 key combination.
You get back to the Normal view with the Esc key.
Mac: Compressing the video
Unfortunately, the Mac version of PowerPoint does not support compressing a video. You can thus skip the compression task.
Alternatively, you can use an external tool for compression and then insert the compressed video into the presentation. Ypu can, for example, open the video in the QuickTime Player program (by double-clicking the video in Finder) and select File → Export As → 480p....
After this, you need to add the video into the presentation again and make any desired modifications to it.
Task: Compress the video to standard resolution
Here we added a video from your own computer into the presentation. However, it is not unusual to want to show e.g. a YouTube video as part of your presentation. Next we will learn how to do that.
Shall we move forward?