SmartArts with Images
SmartArt graphic objects also include options to add images. Images enable rich visual presentation.
- Convert the text on slide 6 into a SmartArt graphic you can add an image to
- Add images to the SmartArt object
- Crop images if necessary
Downloading the base file
Download Personnel.zip, which contains the image options for this task. Note that the images cannot be added to the presentation straight from the zip file. Fear not, though; we will go through this at A Task: Extract a zip file.
Personnel.zipThe Objective
Continue working on the slide 6 of the SmartArts_videos_and_presentation_view.pptx.
Crop the images neatly so that all of them are similarly cropped with people’s faces visible.
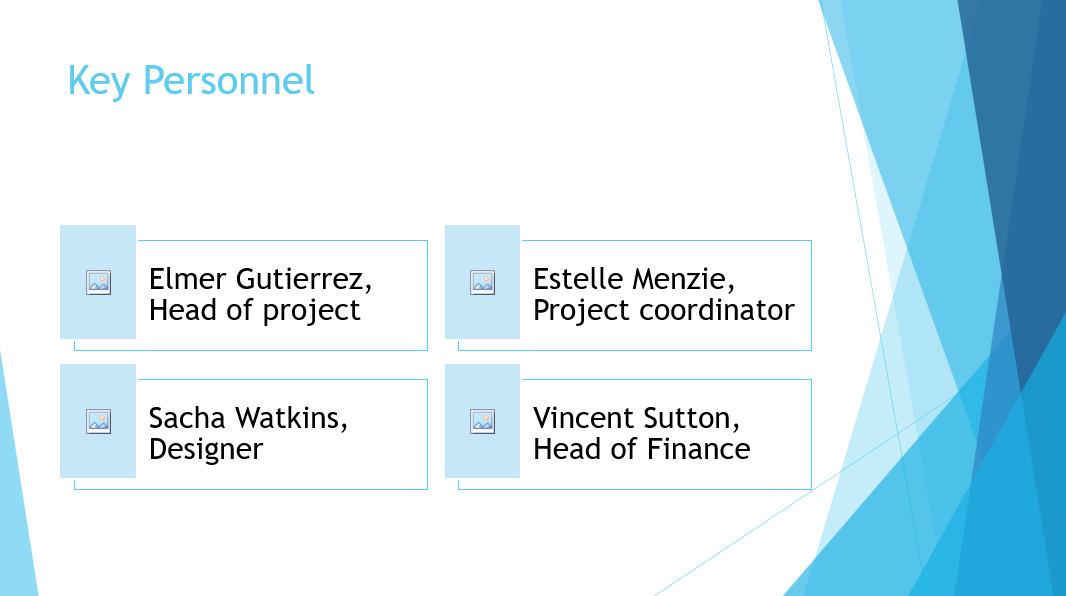
The finished slide might look something like this:

Task: Extract a zip file
Images cannot be added directly from a zip file (compressed folder), even though they appear as separate files. You can open a single image from the zip file and save it, but extracting the entire folder at once is most convenient.
Task: Change the text into a SmartArt graphic object with images
Navigate to slide 6, choose the text, and turn it into a SmartArt object with images.
Model: